Seamlessly integrate lead capture forms into your website to grow your email list effortlessly.


Embedded forms transform your website into a powerful lead generation machine. Capture subscribers and leads without disrupting user experience.
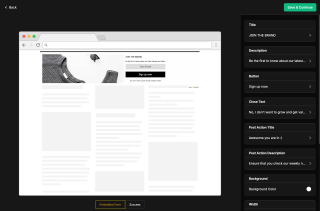
Forms integrate seamlessly into your website design, matching your brand while capturing valuable leads.
Intelligent forms that appear at the right moment to maximize conversions and subscriber growth.

Create beautiful forms that match your brand and work perfectly on all devices.
Embedded forms make lead capture effortless by integrating directly into your website workflow.
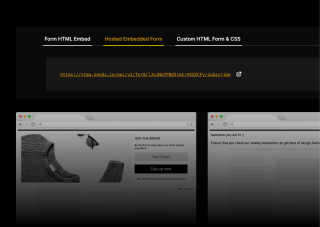
Simply copy and paste the embed code into your website. Forms automatically sync with your email lists.
Captured leads are automatically added to your email lists and can trigger welcome sequences.
Forms can be configured to appear based on user behavior, scroll depth, or time spent on page.
Everything you need to know about SendX and our services
Simply copy the provided embed code and paste it into your website HTML. Forms work with all major website platforms including WordPress, Shopify, and custom sites.
Yes, you can fully customize forms to match your brand colors, fonts, and styling. Use our drag-and-drop builder or custom CSS.
Absolutely! Choose from dozens of professionally designed form templates for newsletters, lead magnets, webinars, and more.
Yes, importing your contacts is easy. You can upload a CSV file with your subscriber lists, and our system will securely import them. We also help ensure a smooth transition by guiding you through the process of warming up your sending domain to maintain high deliverability.
Absolutely. SendX is built to connect with your existing marketing stack. We offer native integrations with many popular platforms like WordPress, Stripe, and PayPal. For everything else, you can use our Zapier integration to connect with over 3000+ apps or use our API for custom solutions.
Still have questions? We're here to help.
Join thousands of marketers who've escaped the land of unread emails.


Improve your campaigns by testing different emails with A/B Testing and hit the mark every time.
Automatically ramp sending volume to earn a rock‑solid sender reputation—no spreadsheets required.
Write, publish, and track articles without leaving SendX—turn readers into subscribers in minutes.
Filter out security‑scanner noise and see the clicks that actually matter.
Auto‑expire unsent emails so your audience only sees timely, relevant messages.
Give every campaign its own reply‑to address and make sure answers land in the right inbox—every time.