SendX
Email software to send campaigns, build lists, and automate marketing
SendX is an email marketing product. It helps you convert website visitors to customers, send them promotional emails, engage with them using drip sequences and craft custom journeys using powerful but simple automations.
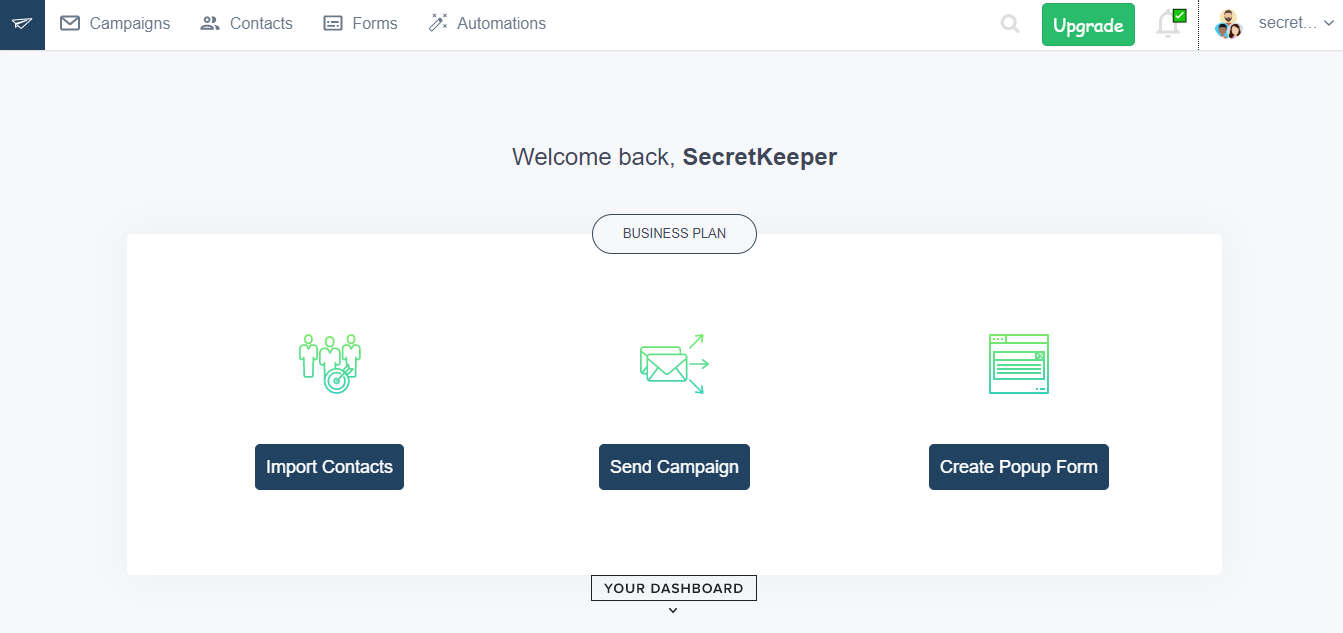
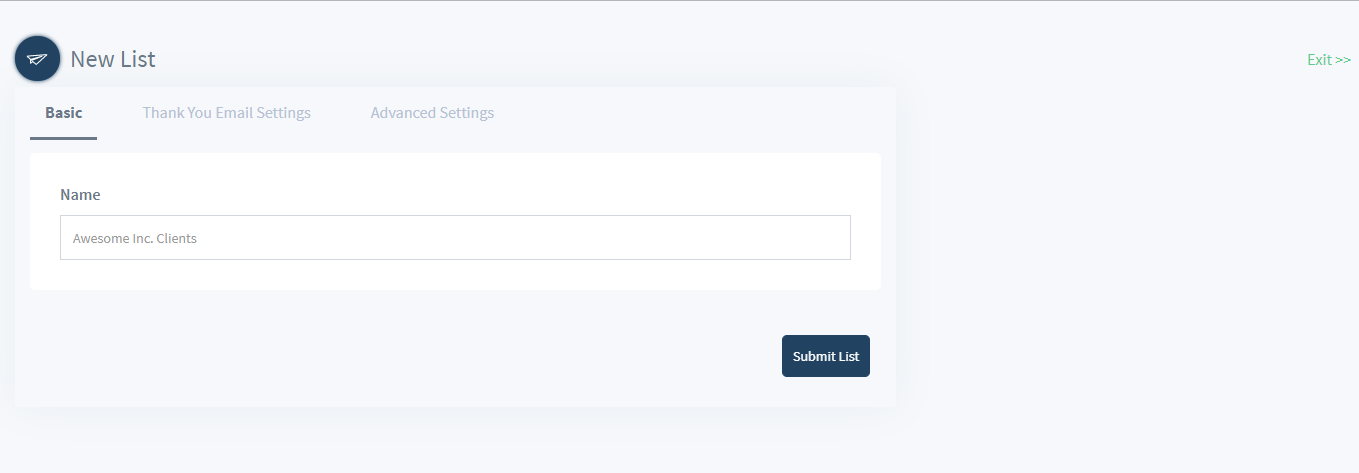
The first thing which we need to do to send our first email newsletter campaign is to create a list. For the sake of simplicity we shall create a list with name Website Users. We can do it straight from the dashboard as it looks like below. Click the Create List button as marked:
Add the Name as Website Users and click on Submit List button:
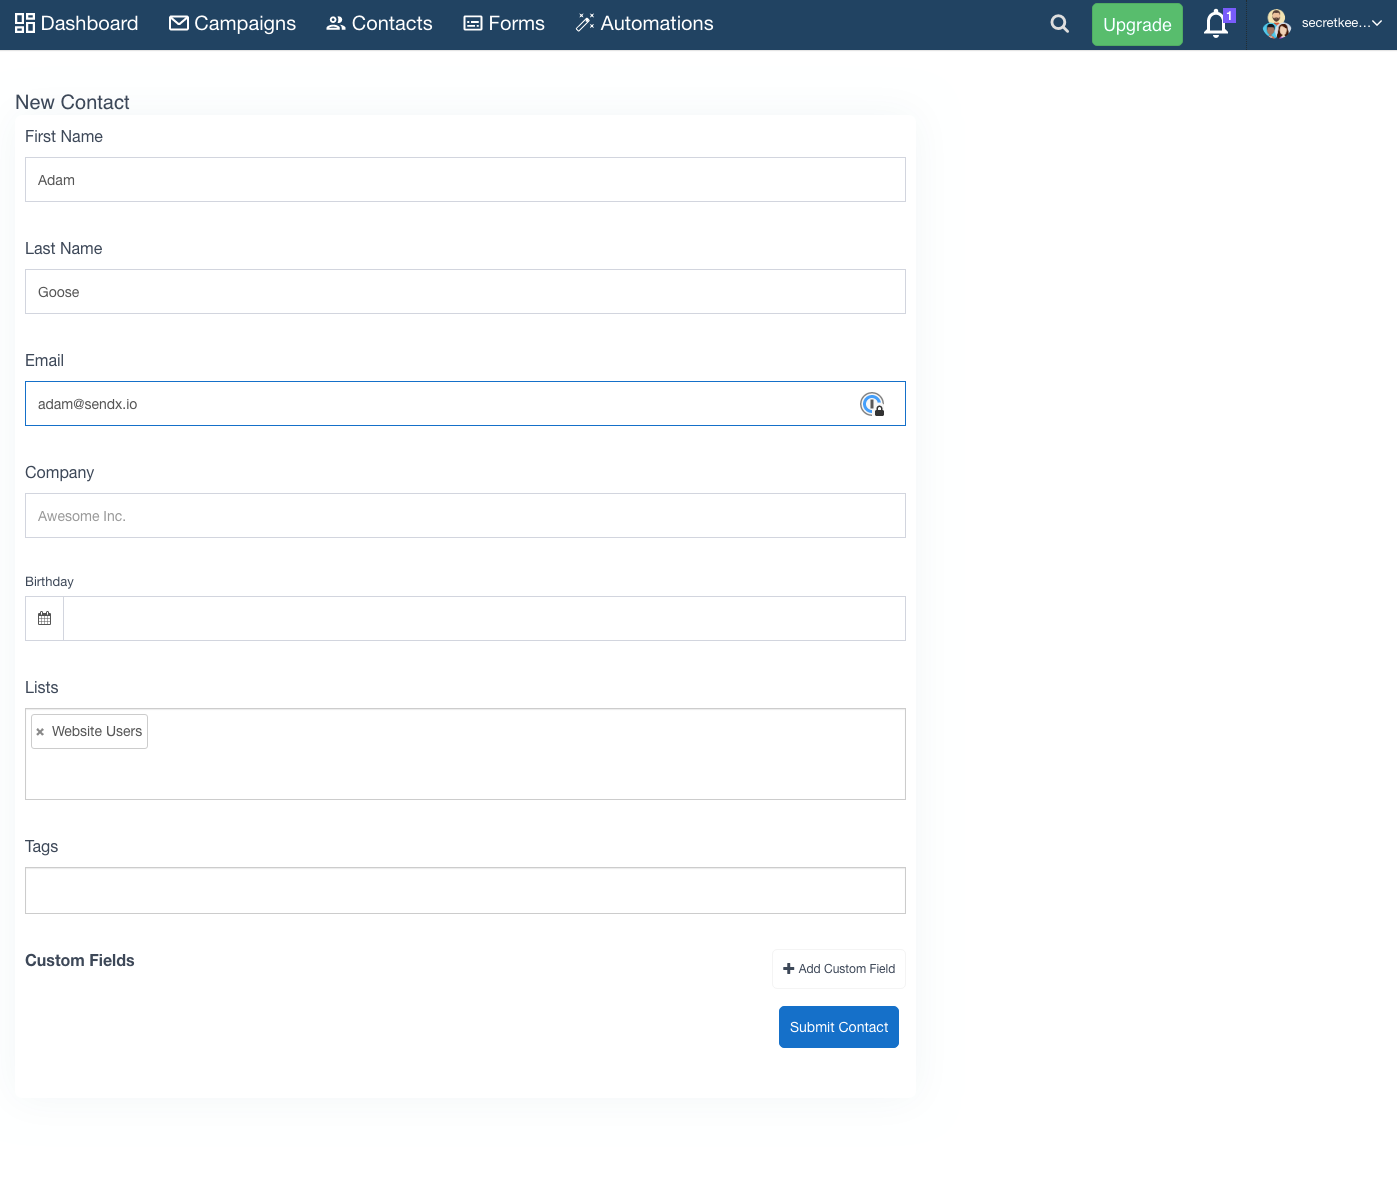
Contacts are nothing but people to whom you want to send emails. On SendX, each contact is required to have an Email ID. You can specify other properties like First Name, Company, Birthday etc. You can add contacts using Add Contact or Import Contacts via a CSV file. For now, we shall simply be adding a contact with the Add Contact option. Enter your personal or work email id along with your first name and Submit this contact information.

Let's add our first Newsletter Campaign. For this, click on Create Campaign button on the dashboard or Campaigns on the navigation bar above and click on the New Newsletter button in the subsequent page.
Newsletters have 5 stages:
You can add various elements like text, image, social links etc. by simply dragging and dropping the boxes from the right pane into your email body template.
As a good practice, we recommend you to always Send Test emails before sending the actual one. This shall ensure that if there are any issues in the email, they get surfaced right away. Click the Send Test button on the toolbar above the email editor.
Select the email id to Send Test Mail To.
Now checking your email account should show a mail similar to:
If you have reached this stage then it means everything is working fine.
Schedule helps you to schedule the newsletter for later or send it immediately. Use the Send Now option to send it immediately to the Website Users list.
Now, click on Submit Newsletter Campaign and you should see in your inbox:
Note that here email body has changed the salutation from Hi < Contact FirstName > to Hi Agnibha Nath.
Reports can be accessed by clicking on the Report button on the Newsletter's Info page or from the campaigns' list page by clicking on Campaigns in the top navigation bar.
You'll enter the Report page.
Setting up DNS records will secure your emails and prevent them from landing in SPAM.
When you buy a domain and use that to send emails you need to set up your DNS records to let the internet know the IP addresses mapped to your domain name, allowed services, and security measures for your emails.
Setting up of DNS records is important because:
1. It tackles spamming and phishingSetting up DNS records pretty much solves the problem of spamming and phishing, which are quite prevalent these days. DNS records ensure that other servers are able to trust that your server is not a spamming host.
Also, you certainly don't want the emails you send to your subscribers to be read or modified on the way from your server to their server. To prevent this, you create an SPF record (part of DNS setup) that contains our domain and the IP address of our mail server. We provide SPF in the form of a RETURN PATH address.
This record is used by other mail servers that receive mail from your domain. It tells those servers to only trust mail coming from IP addresses and hostnames that you specify.
2. Prevent others from using your domain to send emailsThis can be done by creating a DMARC record that will record any fraudulent attempts to use our domain to send an email.
This section will guide you on things you need to know to securely set up your mail server through your DNS (Domain Name Server) provider.
3. Prevent others from impersonating any of the conversing partiesThis is done by adding the DKIM record(s) mentioned by us or your ESP(Email Service Provider) on your DNS solution. They use a private-public encryption mechanism making sure that the email is not tampered with between the origin and destination over the wire, and thus preventing MITM’s (Man in the middle attacks).
4. Control the penalty against errorsAn extra measure that you can add if you prefer to is DMARC. It allows you to set up what action to take(for an inbox provider like Gmail or Outlook) in case your authentication is missing or wrong. In case you’re just setting up authentication for your domain, you can choose to be lenient while you can make the settings very strict and outright block emails which have wrong or missing authentication.
5. Analyze email authentication of all emails from your domainDMARC has an extended reporting feature that sends out an email daily mentioning the counts of emails received from your domain, number of correctly/incorrectly authenticated emails and some other granular details. This is very handy in catching bad actors causing harm to your domain or incorrect setup of a mailing service.
Now you are well on your way to use SendX for mastering email marketing! :D