
A Quick Guide to Uploading Custom Images for Your Web Push Broadcast Campaigns.
SendX allows you to easily upload custom images for your Web Push campaigns, helping you personalize your brand message and strengthen your connection with your audience.
Steps to Upload a Custom Image:
Create or Edit a Web Push Campaign
Create a new Web Push Broadcast Campaign or edit an existing one, depending on which campaign you want to customize.Open the Content Tab
Go to the Content tab in your campaign setup screen.

Upload Your Image
Under the Image field, click the Upload Image button.
Browse your computer to locate the appropriate image, then upload it.
Confirm the Upload
Once the upload to SendX is complete, you’ll see a green progress bar below the Image field showing 100%.

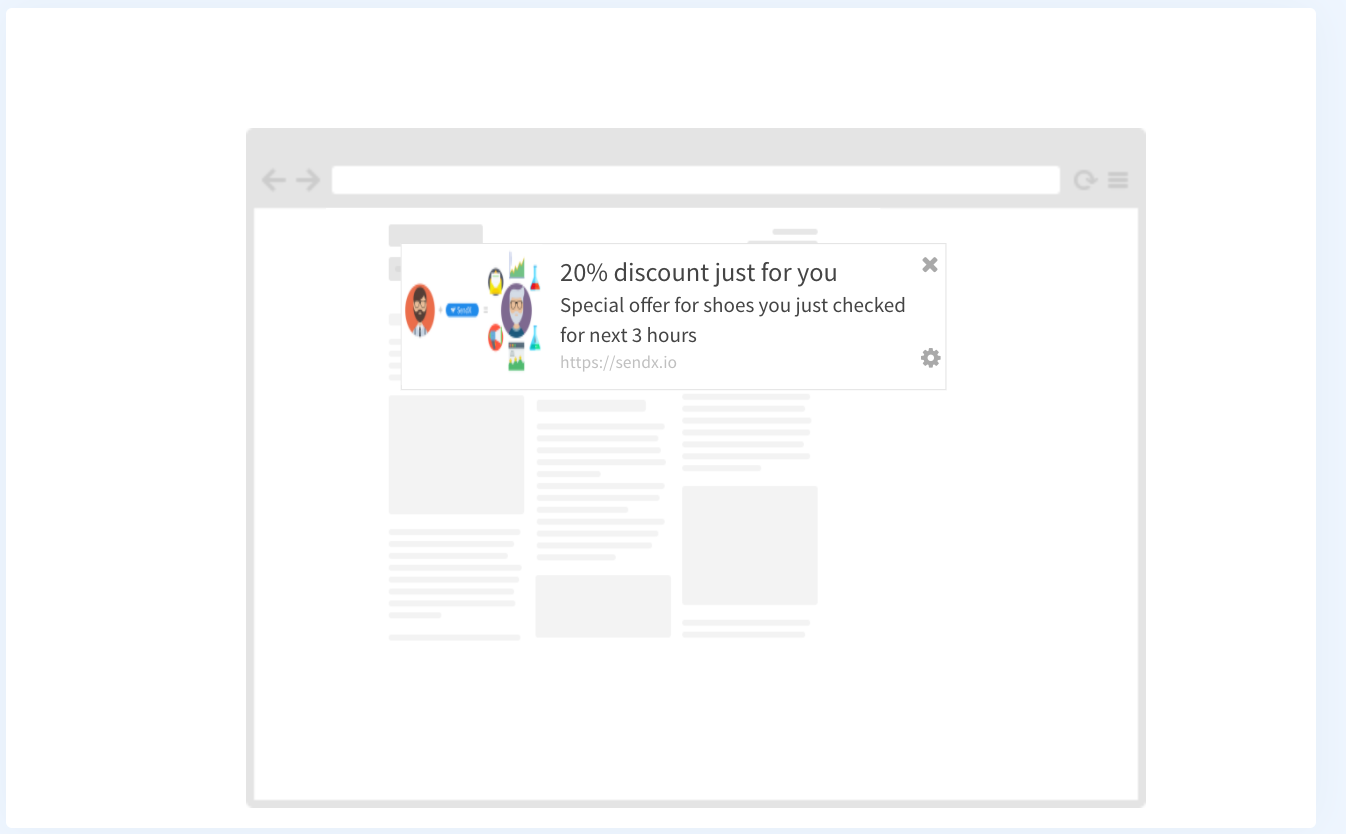
Preview Your Web Push
On the right-hand side of your screen, you’ll see a real-time preview of the web push prompt with your uploaded image.
Save Your Campaign
When you’re satisfied with the setup, click the Submit button to save your web push message
Wrap Up
That’s it! You’ve successfully uploaded a custom image to your Web Push broadcast message in SendX.
Custom visuals not only enhance brand recognition but also help capture your audience’s attention more effectively.