
By the end of this guide, you will be able to create drip email sequences and also be able to the various options that come with it in detail:
-
Introduction to Drip Sequences
-
Advanced Options
-
Setting Up a Drip Sequence
-
Triggering a Drip Sequence
-
Exclude a Segment of Contacts from a Drip Step
Introduction to Drip Sequences
Drip sequences are series of emails that are sent or “dripped” in a predefined order at a predefined time interval. So, for example, if someone joins your email list or app, they receive welcome email #1 on signup, email #2 which highlights the best features of your app is sent two days later and email #3 which nudges them to invite their friends is sent 5 days later. Drip sequences are very effective for:
-
Better User Onboarding
-
Reducing User Churn
-
Increasing User Engagement
-
Upselling Products
and more
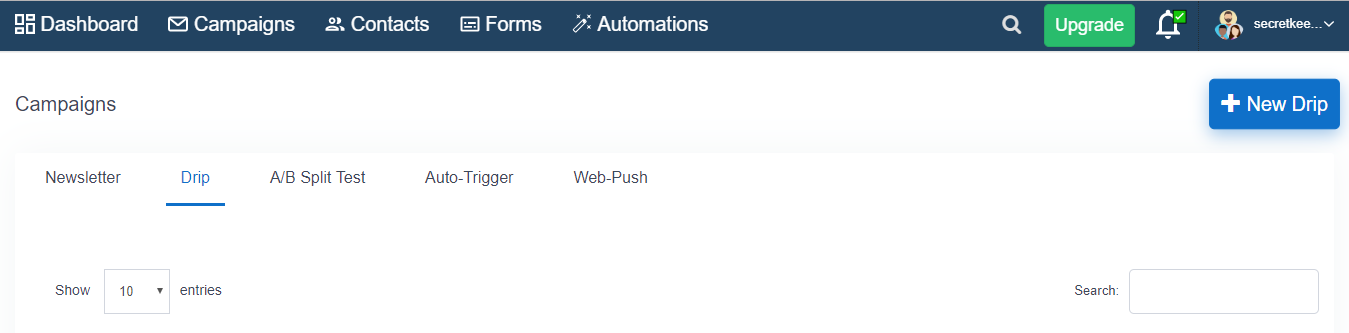
For making Drip emails, you have to go to Campaigns from the Dashboard.
Under Campaigns, you have to select Drip + New Drip
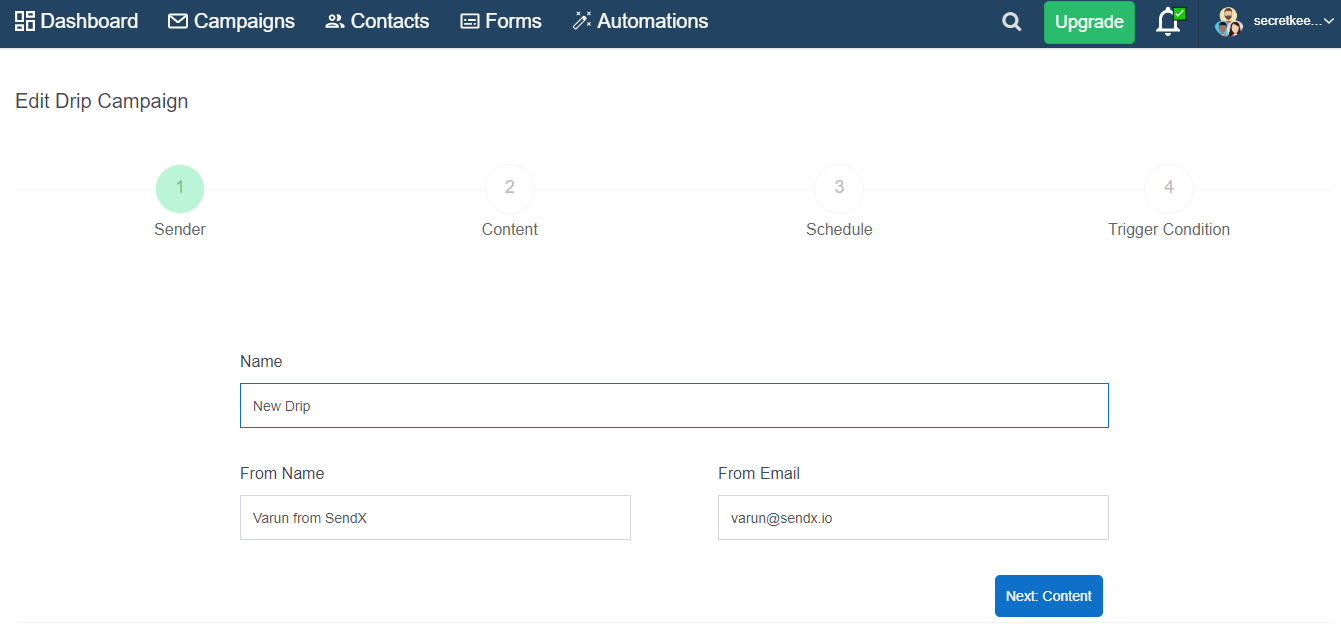
After selecting New Drip, you will be redirected to a new page where you can Name your Drip campaign and write your name and email id.
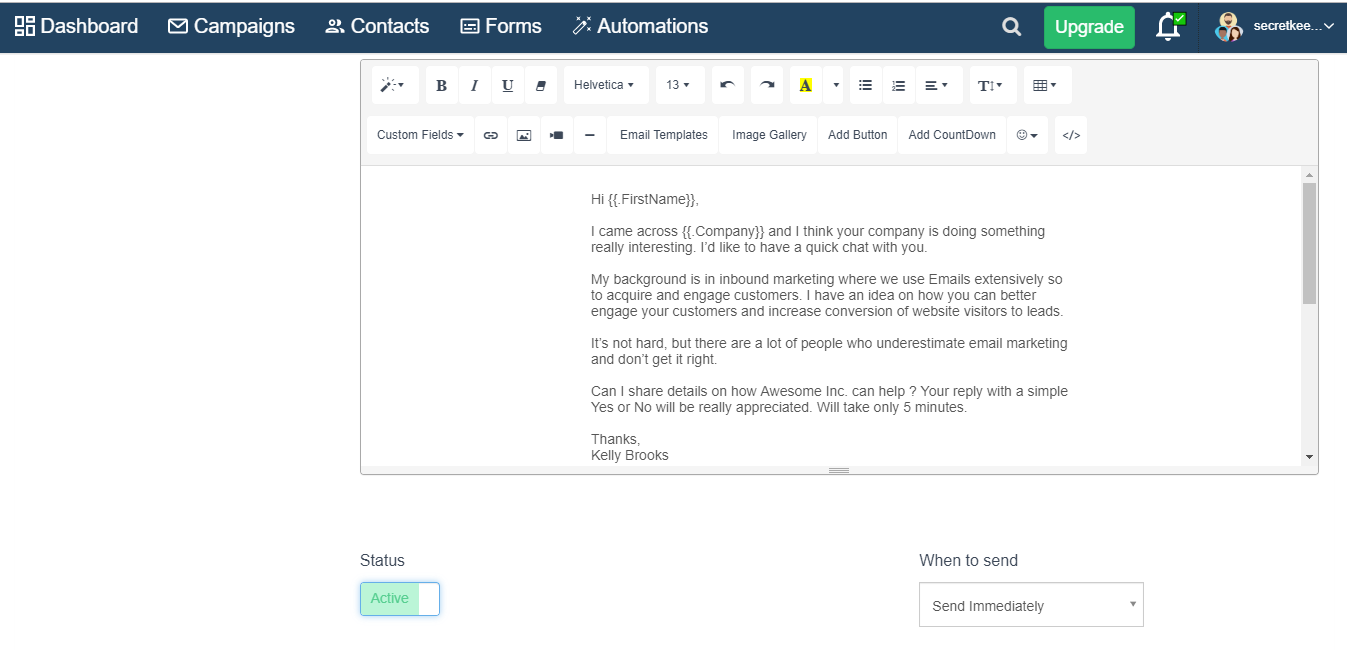
Under Contents you can Edit subject of your Drip Campaign and when you want to send your campaign, under content you have one more option i.e Status, you can keep the status Active to send your campaign when scheduled or you can Draft your campaign.

Advanced Options
Drip sequences have a few advanced options:
-
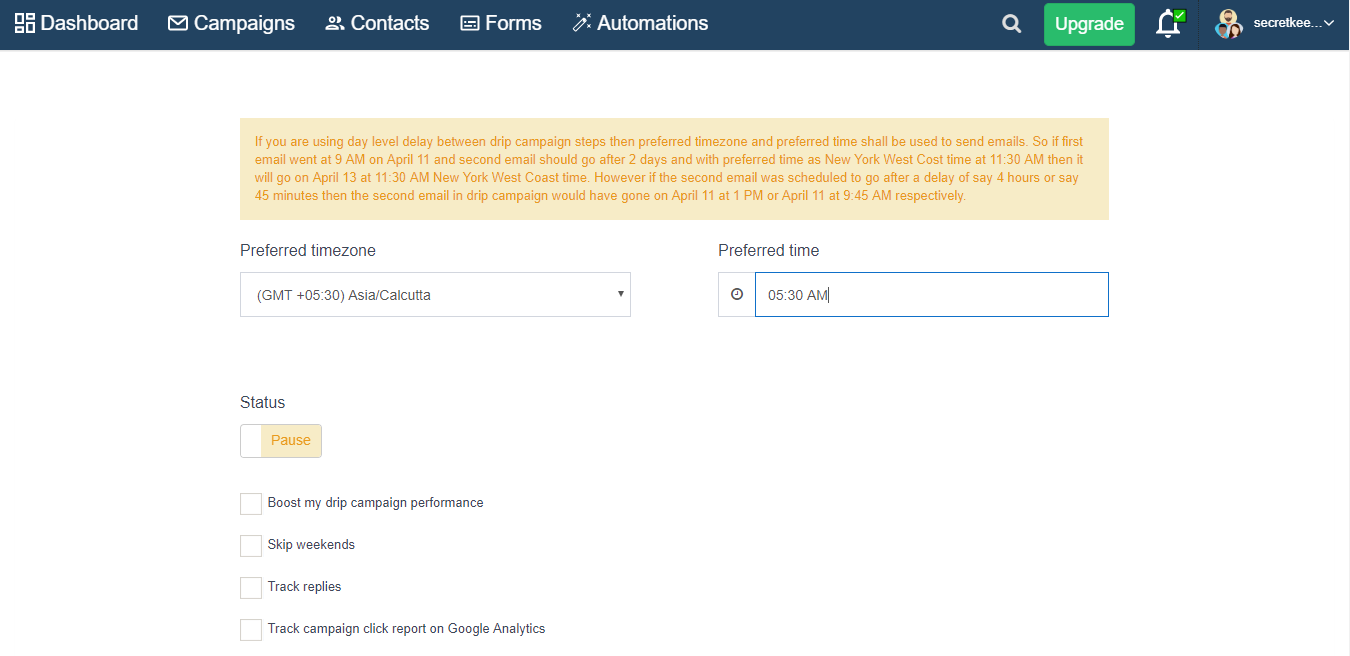
Skip Weekends: In many cases you don't want a drip email sequence to be sent on Saturday or Sunday. Enabling skip weekends does that. Rather the email shall be sent on Monday to all such users.
-
Track Replies: You can decide to track replies to your drip sequences. This can be used for outbound prospecting or better user engagement. You can further use automation rules to tag users who have replies, send them a one-off email or start/stop a drip sequence
-
Auto generate UTM Params: Enabling this will rewrite all your email links to the ones containing UTM params. This ensures that if you are using analytics services like Google Analytics then you can co-relate website traffic with your email campaigns/drips etc. So a link like http://awesome.com will convert to https://awesome.com/?utmsource=sendx&utmcampaign=Running%20Shoes&utmmedium=email&utmterm=hello%20world&utm_content=tick
-
Set the Status to Active to start sending the campaign.
Setting Up Drip Sequence
Click on New Drip under the drip sequence tab on the sidebar. Specify the time, timezone and the user from which drip sequence needs to be sent. Once you have done that you can simply create a sequence of emails and specify the status as well as the duration after which it should be sent.

Any individual step in a drip sequence can have the status of active or draft. Draft drip steps are not activated and hence they won't be sent to any contact.
The 0th step (1st email) of the Drip can be sent immediately as soon as a contact (subscriber) subscribes.
If Send After 0 days is selected then the 1st step will be sent at the 1st occurrence of the scheduled time of the Drip.
Similarly, you can change the duration after which the drip step must be triggered.
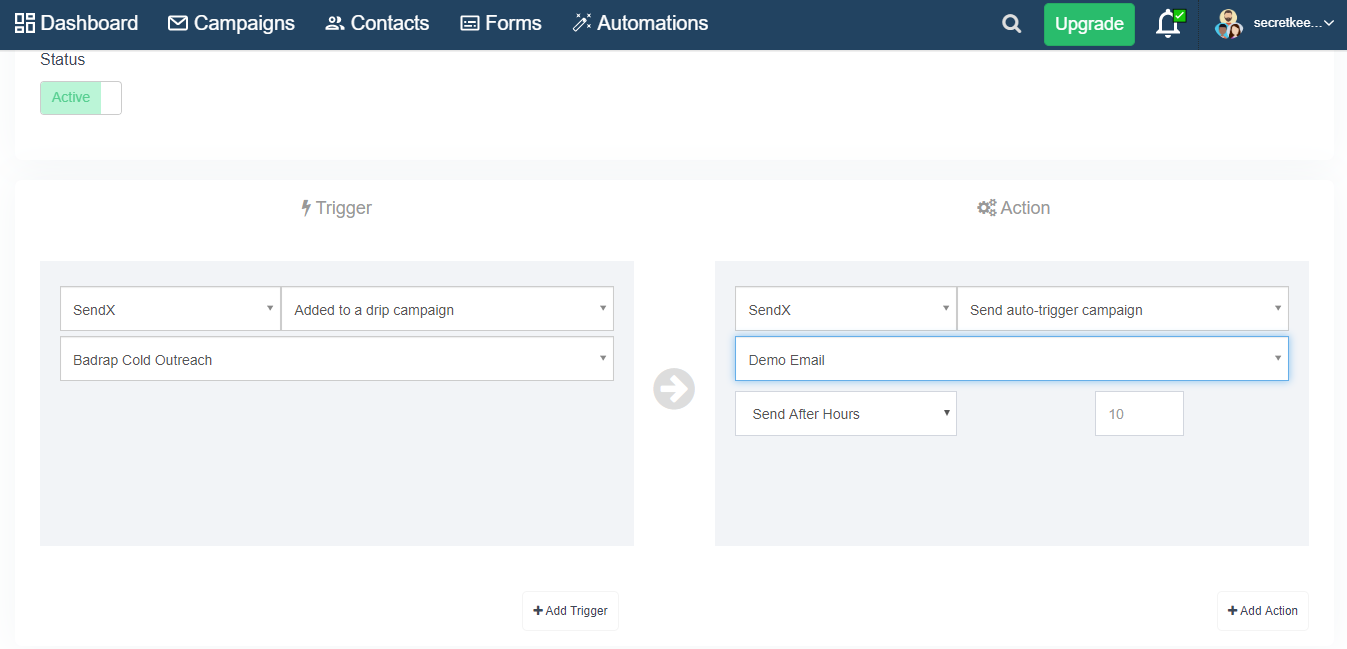
Triggering a Drip Sequence
Drip sequences can be triggered as part of automation rule or using API.
 Did this answer your question?