
Create an Exit Intent Pop-Up and Integrate It With Your Website A Comprehensive Guide To Creation of an Exit Intent Pop-Up and Integration of the Same With Your Website Varun Jain
By the end of this short guide, you will be able to effortlessly create your first popup, and display that popup on your web page. We will be covering:
-
Introduction to Exit Intent Pop-Ups
-
Creating a New Exit Intent Pop Up From Scratch
-
Customizing The Content Of The Pop-Up
-
Integrating The Pop-Up With Your Website
Introduction to Exit Intent Pop-Ups
An Exit Intent Pop-Up is a gateway through which a business can turn its viewers into its subscribers or leads while the viewer is exiting the page. It is usually used to give away a last minute discount or an offer as an attempt to persuade the end user to give his contact information before exiting the web page. When a user successfully gives his information, he becomes a lead for your business.
Creating a New Exit Intent Pop Up From Scratch
-
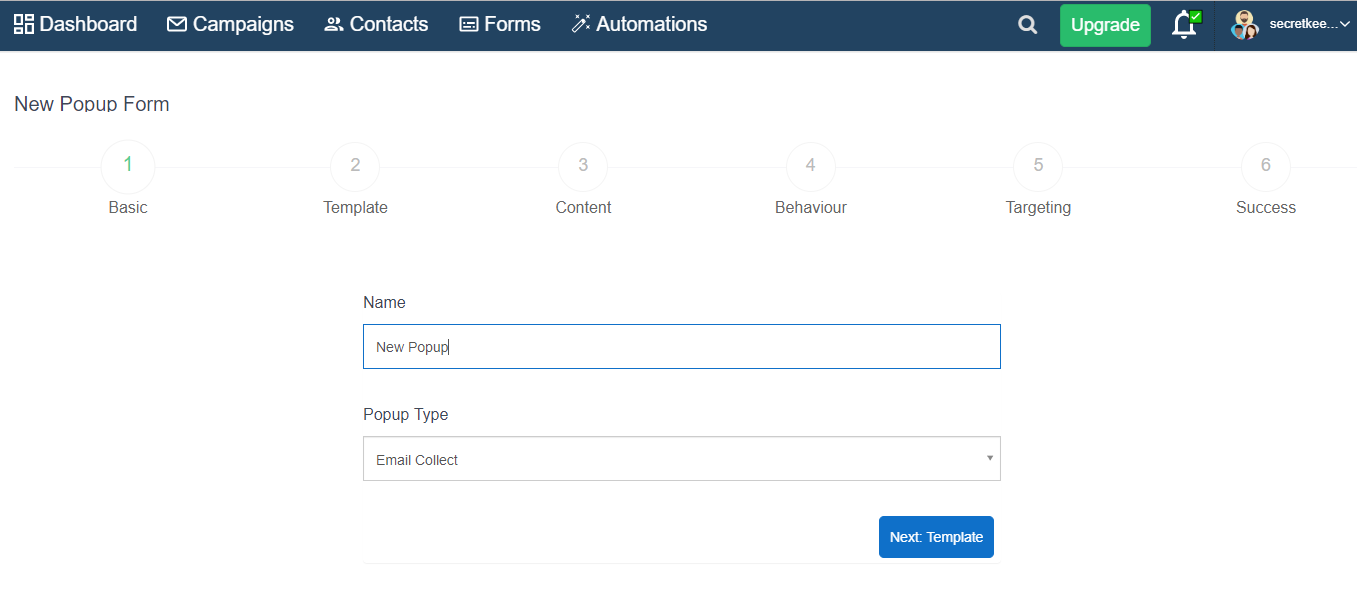
Go to Forms + Pop-up + New Pop-up

-
Under the Basic tab, add a Name and make sure that Pop-up Type is Email Collect
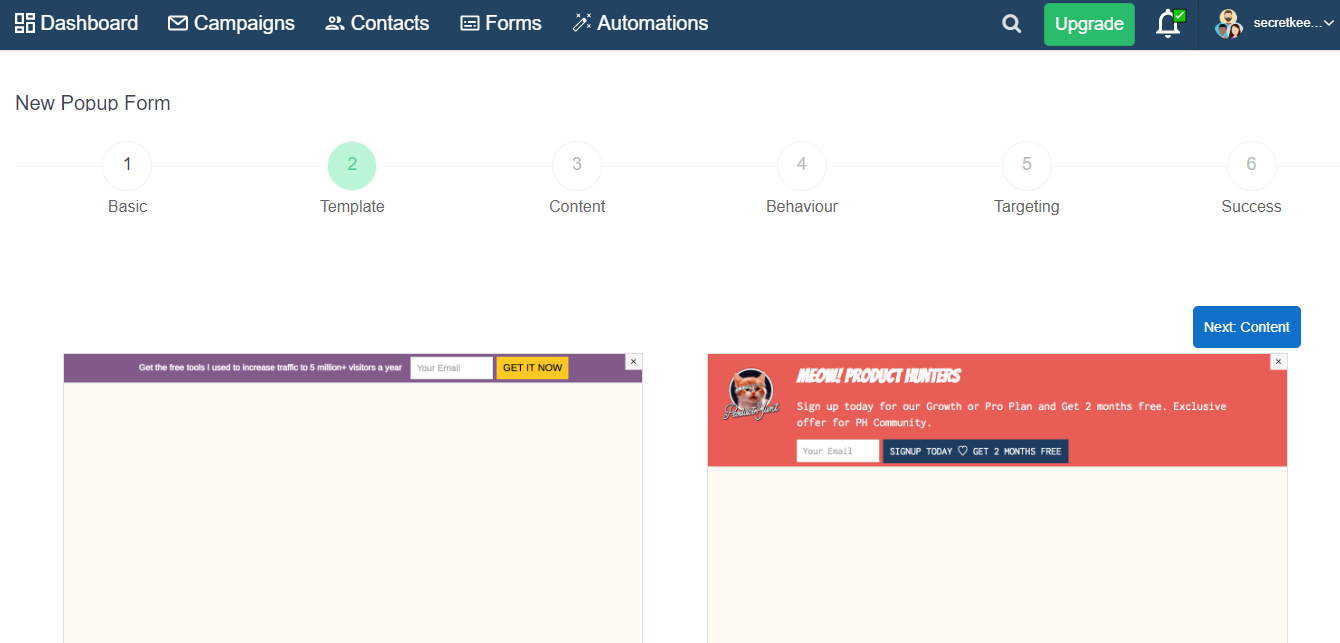
After that comes Templates options, where you can apply a template to your Pop-up mail.
-
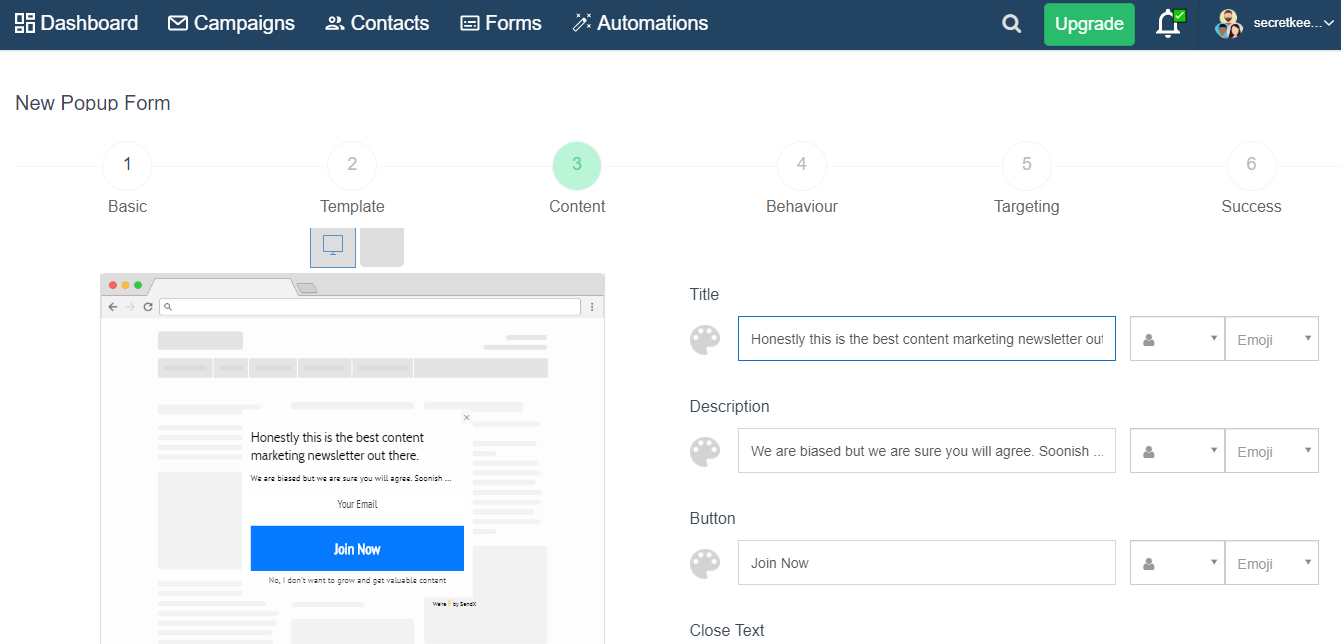
Then Comes Content where you can customise your Pop-up Title, Description e.t.c and also edit the colour of your Title or description e.t.c, by click on the opiton give under title heading or subscription heading e.t.c and can also edit the background colour by clicking on the button given under Background option.
-
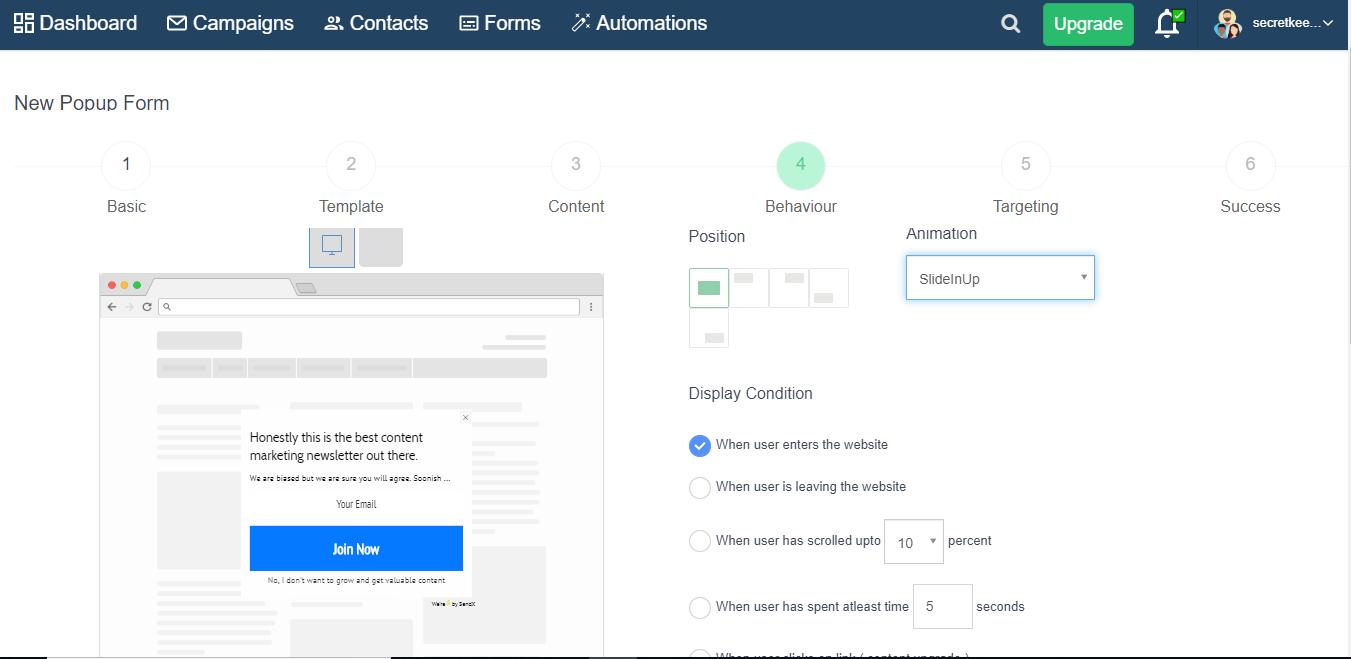
Then comes Behaviour where you can customise your Pop-up like when to display, where to display and how to display, position and animation.
-
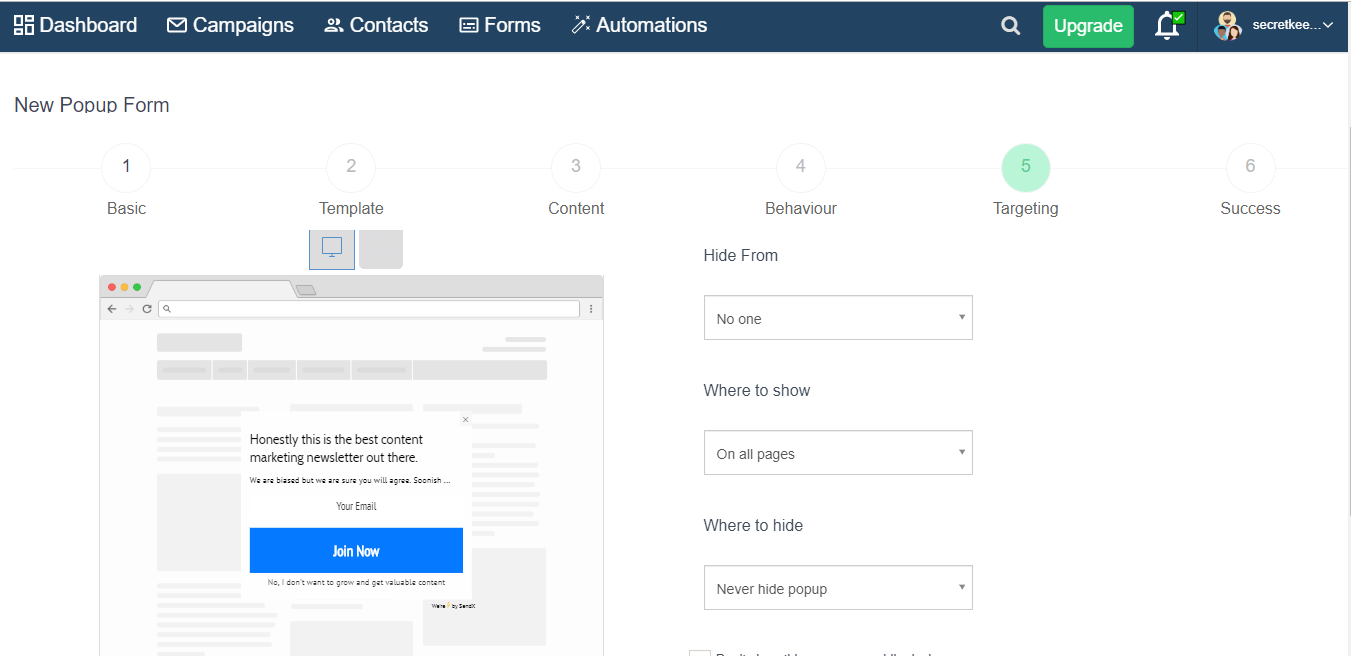
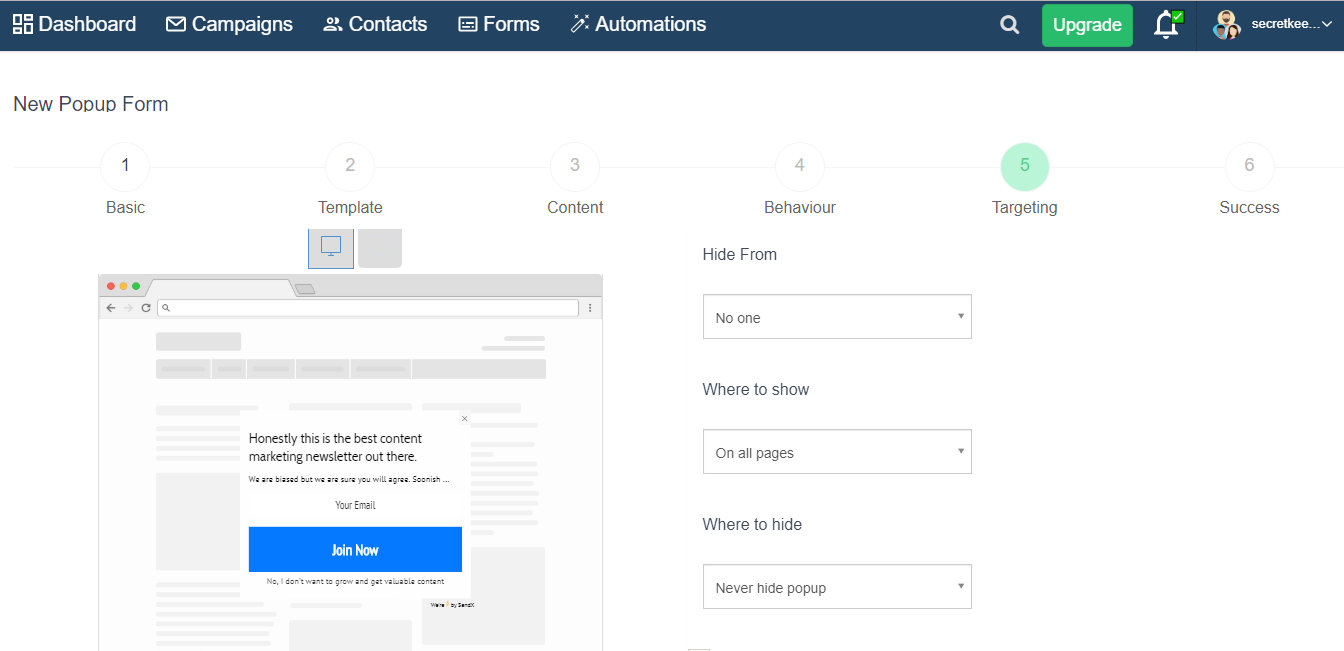
Next step is targeting, Here you can edit the option like whom to show, hide from, where to show e.t.c
-
Then comes the success part where you can close pop-up option and after clicking the pop-up the new page redirecting option and have to set the status active
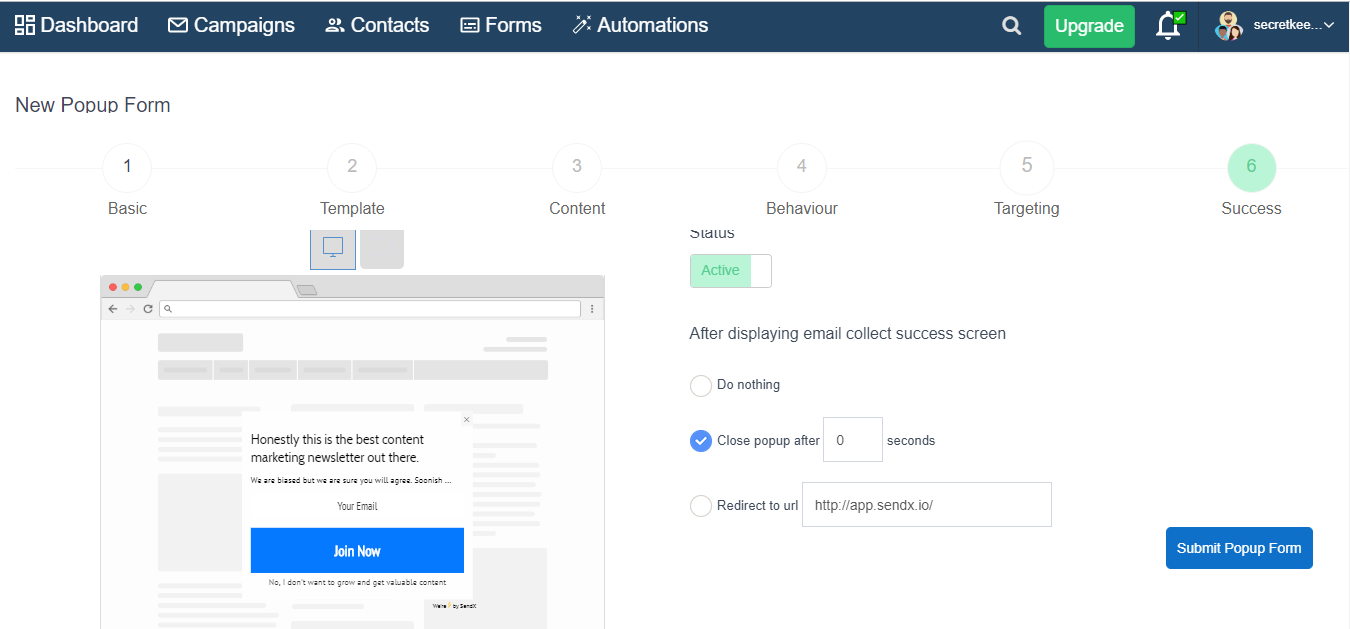
Then click on Submit Pop-up form. So you have created a New Pop-up.
Integrating the Pop-Up with Your Website
To set your pop-up up to be an exit intent pop-up, we need to set it to show according to specific user behaviour (and targeting if needed only on specific web pages!).
-
Go to the Behaviour tab, and set Display Condition to When user is leaving the website.

-
Set the Frequency to Every page view if you want your exit intent popup to appear every time the user visits your website, Every new browser session if you want it to appear whenever user reopens his browser another time, After time [choose time], if you want it to appear after a specific amount of time. Note that you don't want to set After time more than a few seconds since in most cases, the user will have already exited your website.
-
Choose the appropriate option under Stop displaying popup when depending on when you want to stop displaying the popup for the user.
Now your exit intent pop-up is all set to display on every webpage of your website whenever the user tries to exit the page! Click Submit to set it up or go to the Targeting tab if you only want to display it on certain pages of your site.
-
Under Show rules, type the last phrase of the URL you want to show your pop-up on. Click on Add Rule to add another one in the Show rules criteria.
-
The Rules are set to OR, the pop-up will display when ANY of the criteria are met.
-
Under Where to Hide Rules, type the last phrase of the URL you DON'T want to show your pop-up on. Click on Add Rule to add another one to the Where to hide Rules criteria.
Check the appropriate box below in case you don't want to show the popup on Mobile or Desktop devices.
Click Submit to set the pop-up up.
Now you're all set to collect some sweet leads while the user is exiting your website!