
SendX allows you to create your own segments using custom fields, which makes hyper-targeting and segmenting of your contacts a breeze. This step-by-step guide will help you effortlessly accomplish the same. We will be covering:
-
Introduction to Custom Fields and How To Create Them
-
Create a Custom Field of Type Date
-
Creating A Segment Using Various Custom Fields
Introduction to Custom Fields and How To Create Them
SendX allows you to create your own fields, within which you can enter your own values to create segments, and even use those fields to ask for more details from your prospects in your pop-ups, forms, and landing pages.
To create a new Custom Field:
-
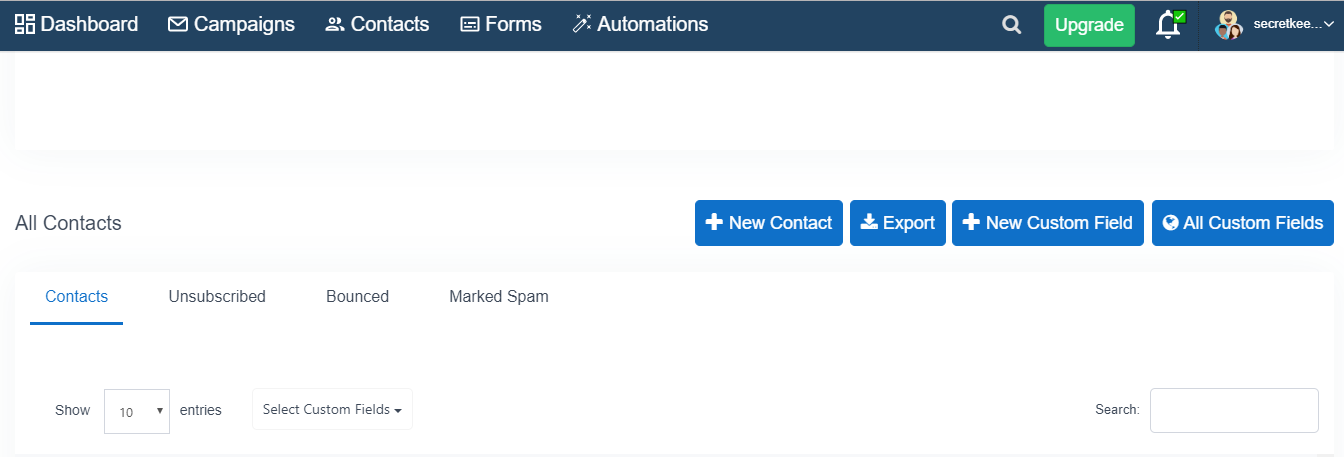
Go to the Contacts menu from the Topside pane of the Dashboard and scroll down the page.
-
Click on the New Custom Field button at the top.
-
Type the Name you want to give to the field. For ex: Designation.
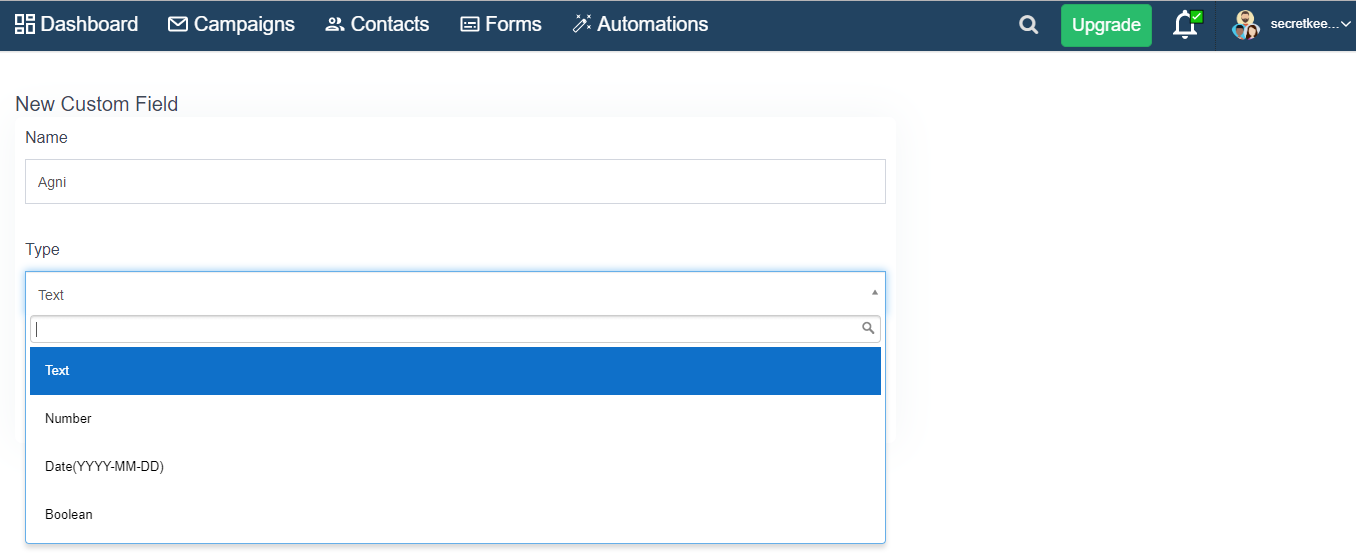
-
Choose the Type of field from the menu below. The following are the types of values you can accept in SendX:
-
String: A string is simply a sequence of characters (could be letters, numbers, symbols etc.). Ex: Designation.
-
Number: As the name suggests, this is simply a sequence of numbers. Ex: Contact Number
-
Date (YYYY-MM-DD): This field is used for accepting dates. Ex: DOB.
-
Boolean: A boolean value is one with two choices. Essentially meaning true or false. Ex: Paid User
-
Click Submit to create the Custom Field!
Note: If you want to add a custom field to an existing contact, edit your contact info and add the field under it.
Creating A Segment Using Various Custom Fields
You can create your own segments using the custom fields you have created in SendX. This helps you to laser target your marketing campaigns and engage with your leads on a more personal level.
-
Create a new segment by going to the Contacts + Segments menu on the left side pane of SendX. Click on New Segments.
-
Choose a suitable Name for your segments.
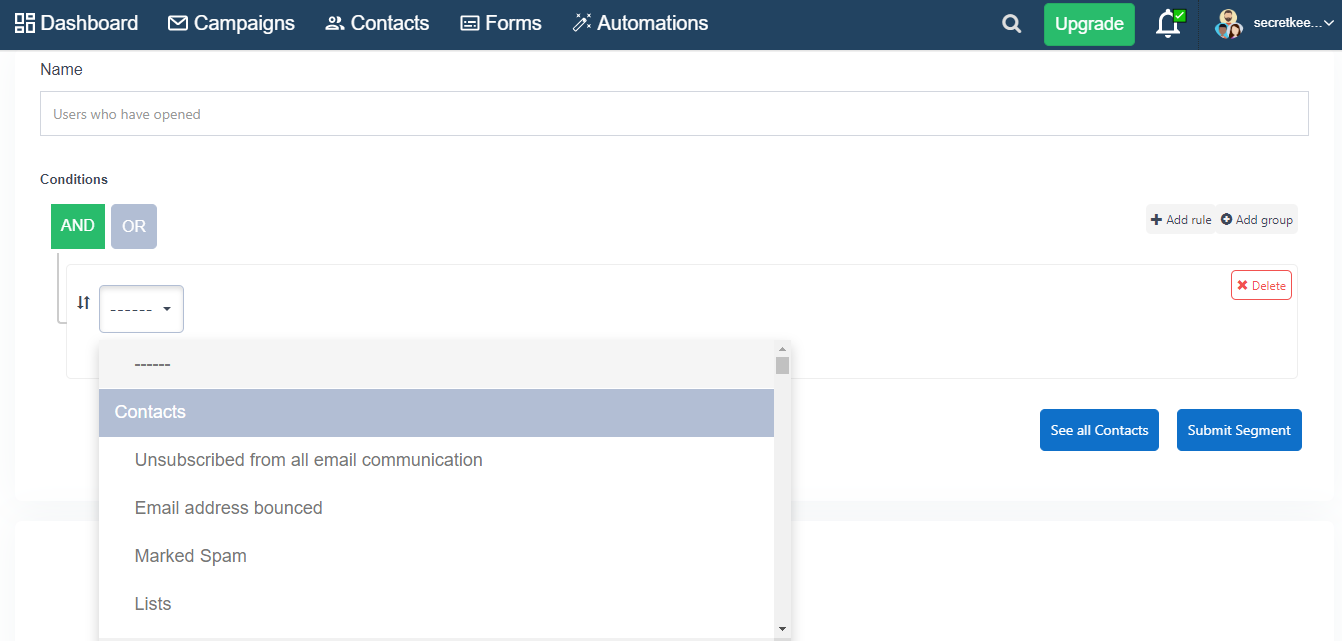
-
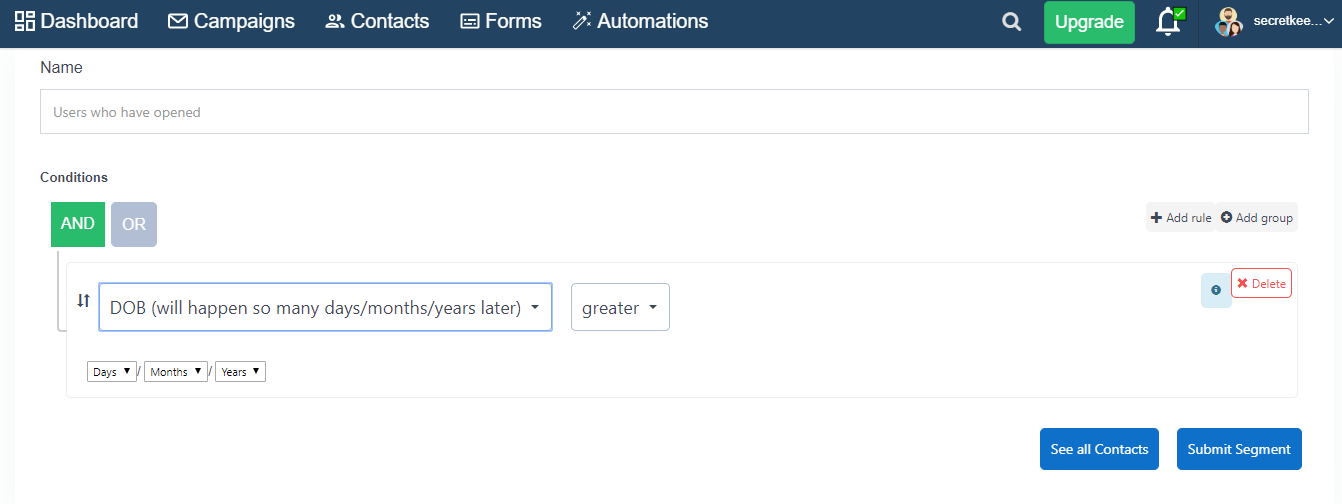
Choose your desired condition between AND and OR. If you select AND, the contact will have to meet all the conditions to be considered under that particular segment. If you select OR, the contact will have to meet any of the conditions to be considered under that particular segment.
-
Open the drop drown menu and click on your desired custom field. Ex: DOB
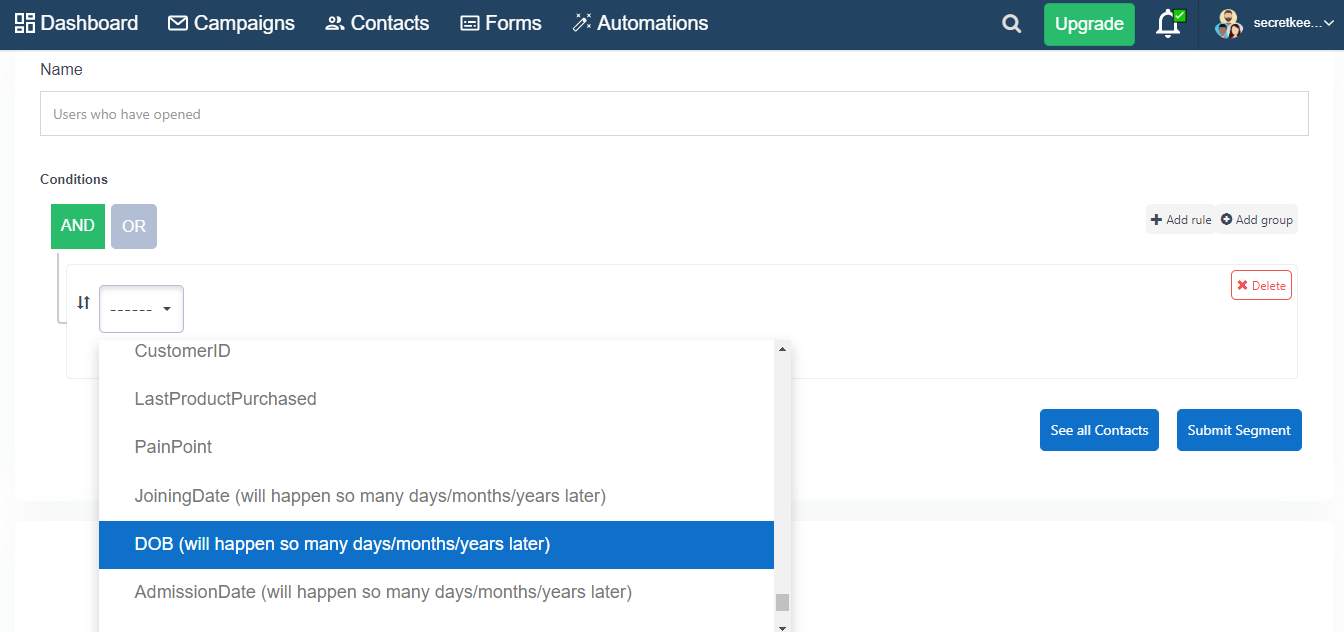
-
Add the value in the field below. When that value is met, the contact will be added to that particular segment. For ex: In the segment above, the users who opened a mail and did it 7 days before the date set (DOB) will be segmented.
-
Click Submit to save that segment.
And that's it! That's all you need to do to start creating your own segments using your custom fields in SendX.
Did this answer your question?