
By the end of this guide, you will be able to quickly create a double opt-in list within SendX. Depending on your business's needs, you may need to create a double opt-in list, where the user receives a verification email on submitting his email ID. Only after he verifies through that email will he be added to the list.
How Double Opt-In Works
The double opt-in process consists of 2 steps:
Step 1 -> Potential subscribers submit their info.
Step 2-> Potential subscriber confirms via a verification email sent to him afterward.
After the completion of these 2 steps, the subscriber is successfully added to a list.
How To Create A Double Opt-In List
-
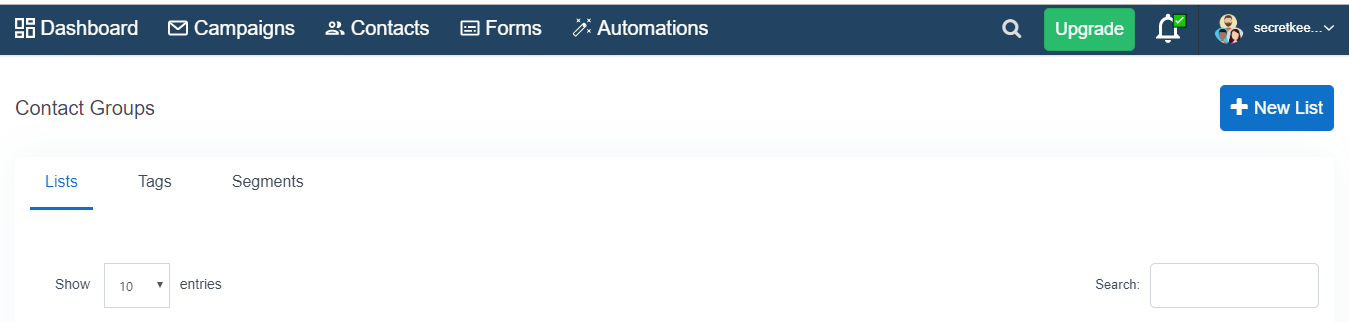
Go to the Contacts + Lists screen from the Top hand side pane.
-
Click on New Lists, and type a name for the list under the Name field.

-
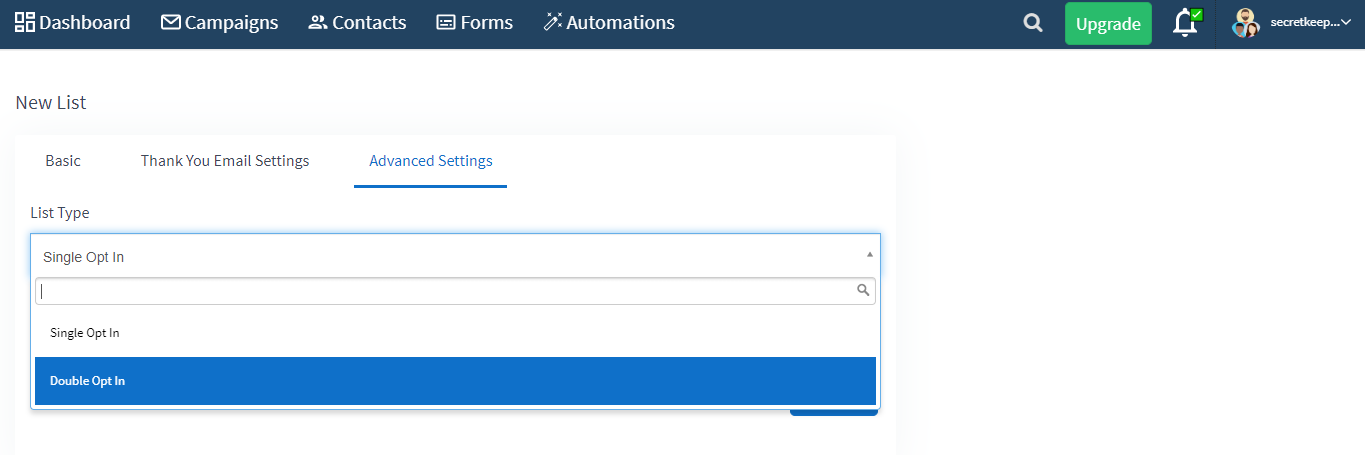
Go to the Advanced Email Setting tab. Choose Double Opt In from the drop-down menu below List Type.
-
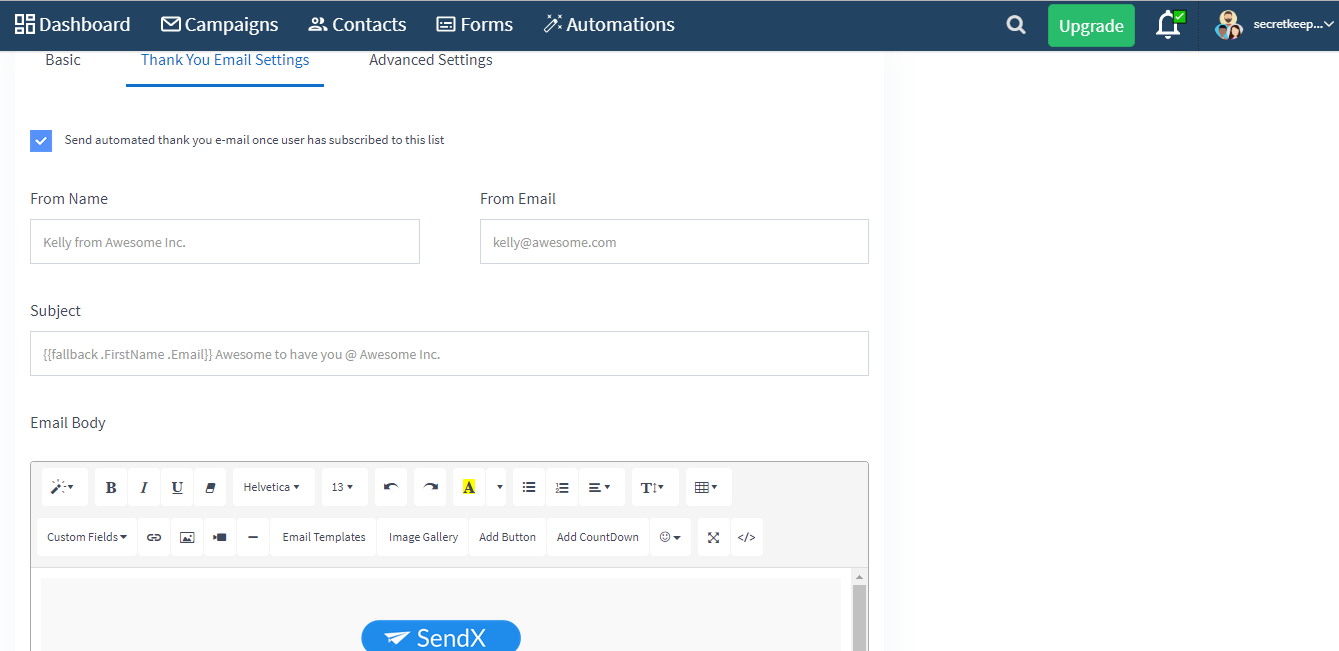
Write the From Name, From Email, Subject and Email Body for the verification email that will be sent after a user submits his info.

-
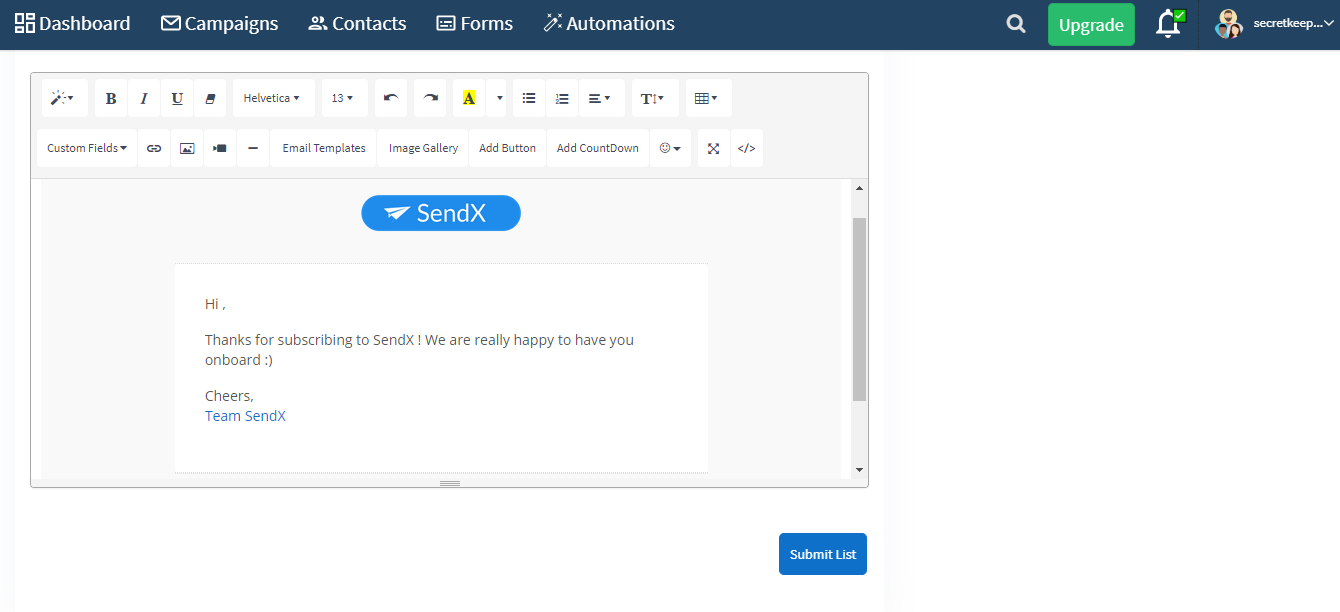
And you have the options to send a Thank You mail once a user has subscribed to your list. As well as a Goodbye mail once a user has unsubscribed from it. Click on the Thank you email setting, and type out the email that you want to send to your subscribers/unsubscribers.
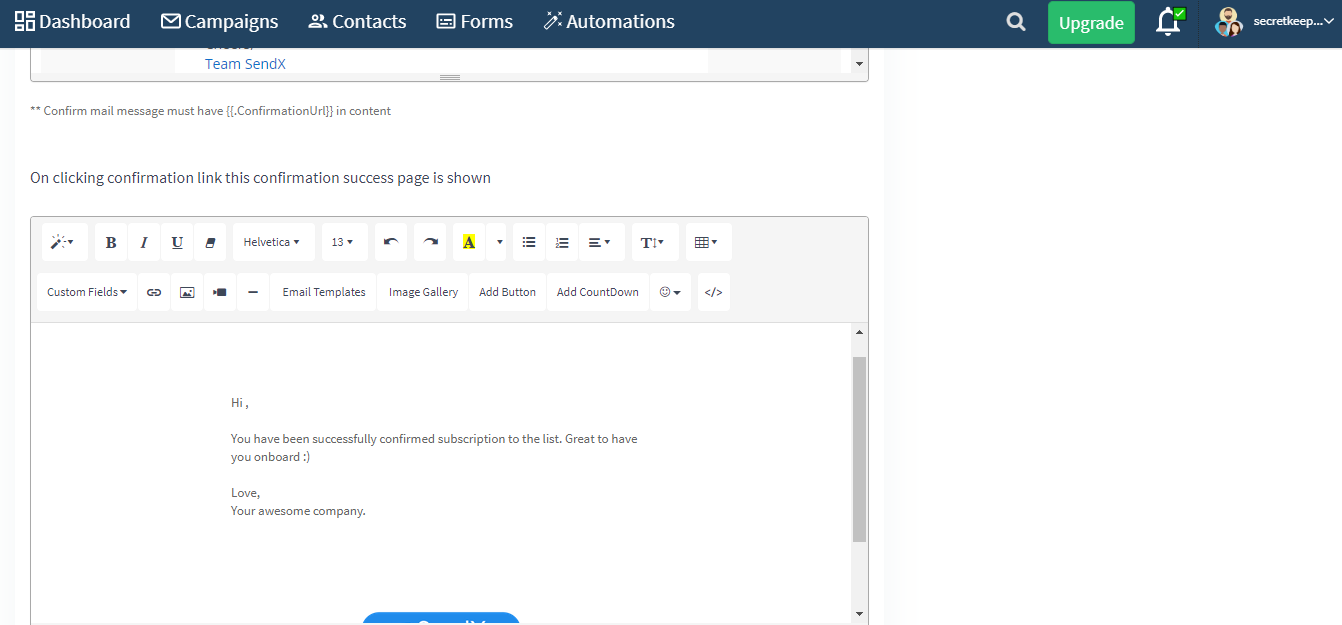
List Confirm HTML Page
After a user confirms to subscribe to your list, he is taken to a separate page that conveys to him the message that he is subscribed to the list. You can edit that page and how it would look like by customizing the message under List Confirm HTML Page.
The field for Default List Unsubscribe Footer allows you to edit the footer that is attached to every email of yours sent to this particular list.
List Unsubscribe HTML Page
Use this editor to edit the page that the user is taken to if he unsubscribes from your list.
-
Click Submit when you're done to create the list.