
Using SendX, you can quickly add a calendly widget to your landing page. It works great for setting up product demos, consultation calls, affiliate partners etc. This quick guide will help you to set up one for yourself.
-
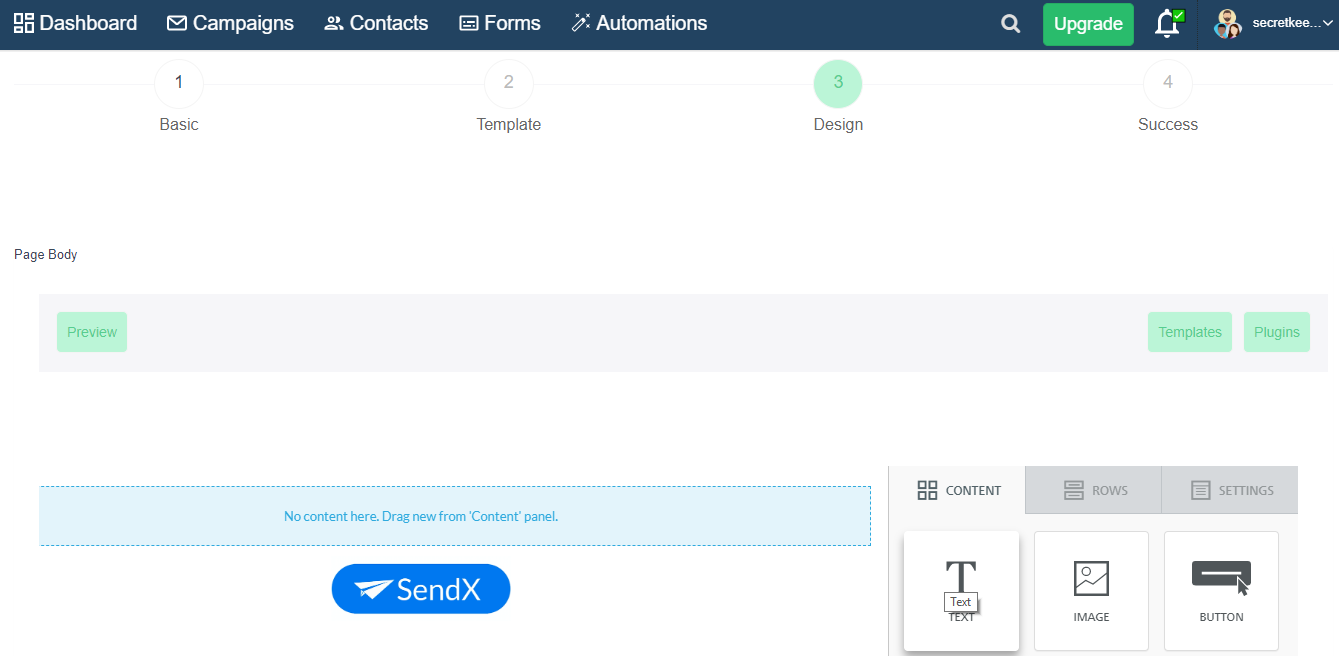
Create a new landing page or go to an already existing one (click Edit), depending on which page you want your countdown timer to appear.
-
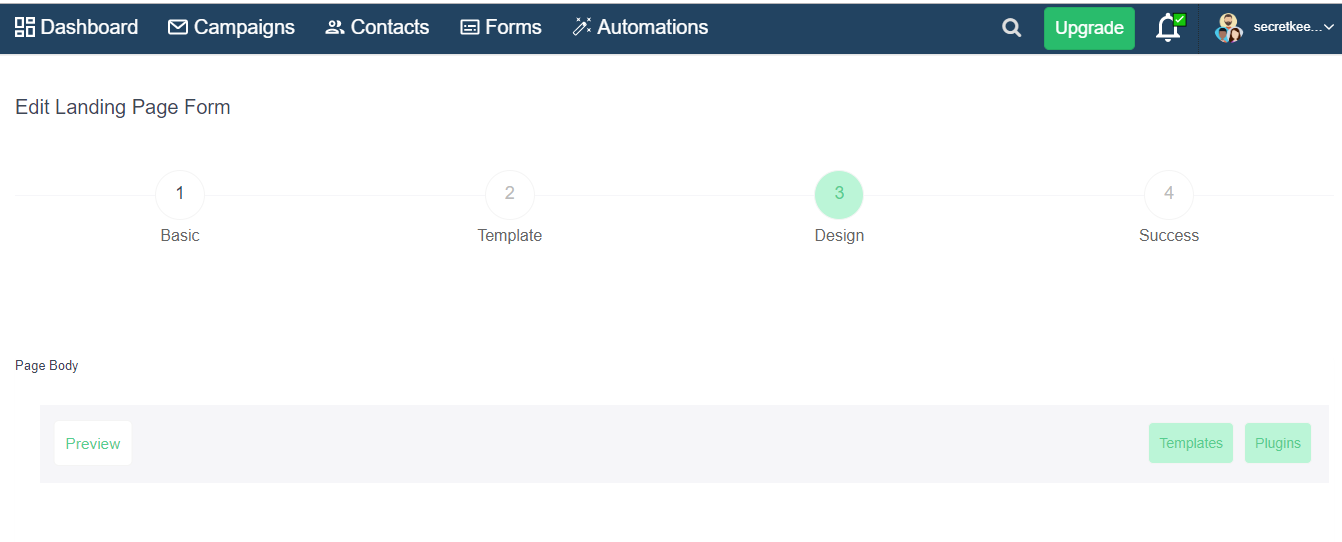
Go to the Design tab.
-
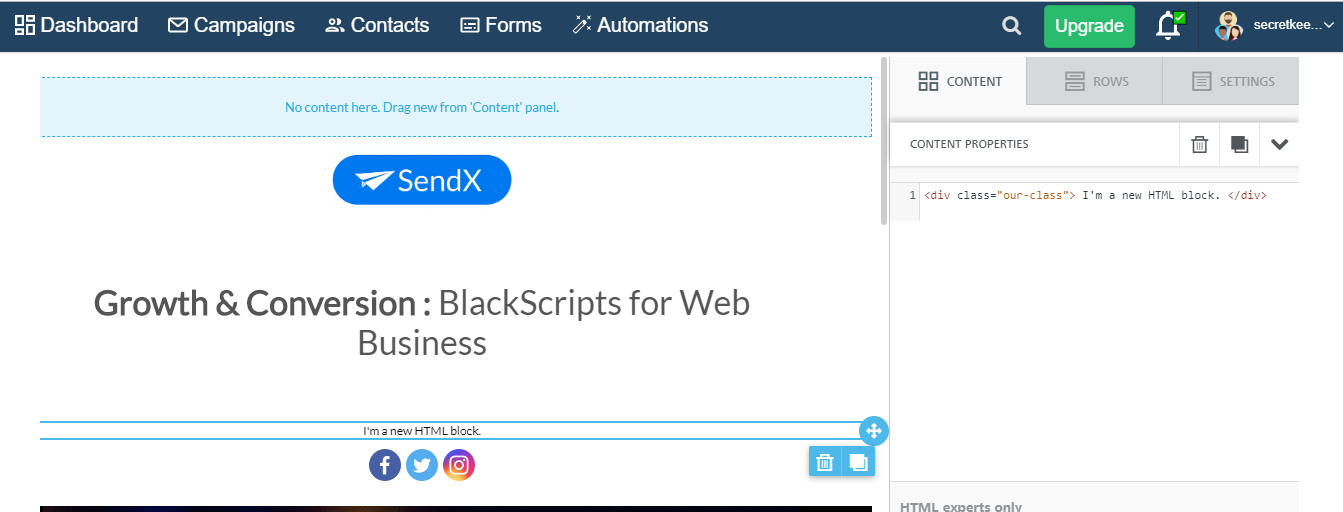
From your Landing Page Drag and Drop Placeholders on the right, drag the HTML box into your landing page (specifically the place where you want the calendly widget to appear).
-
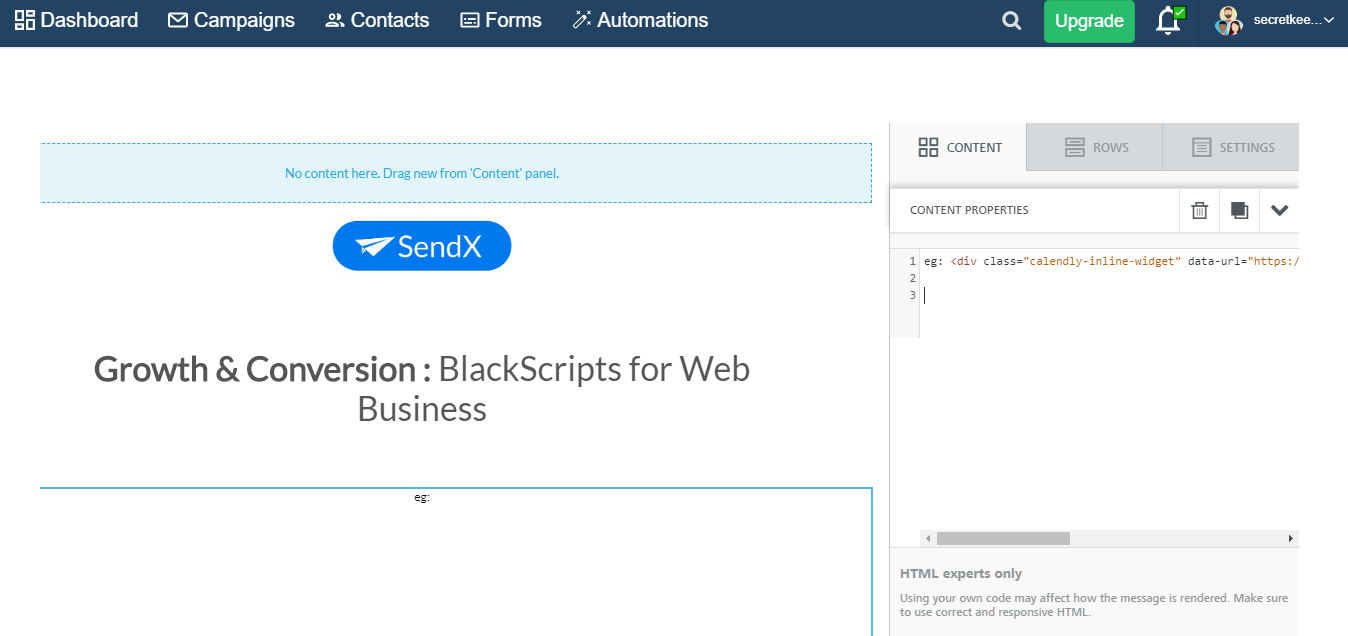
Click on the box to open the HTML editor view on the right. Paste the code that you copied from the Calendly Widget plugin (replace the default code)
eg: <div class="calendly-inline-widget" data-url="https://calendly.com/tribelocal-demo/industry-expert" style="min-width:320px;height:580px;"></div>
-
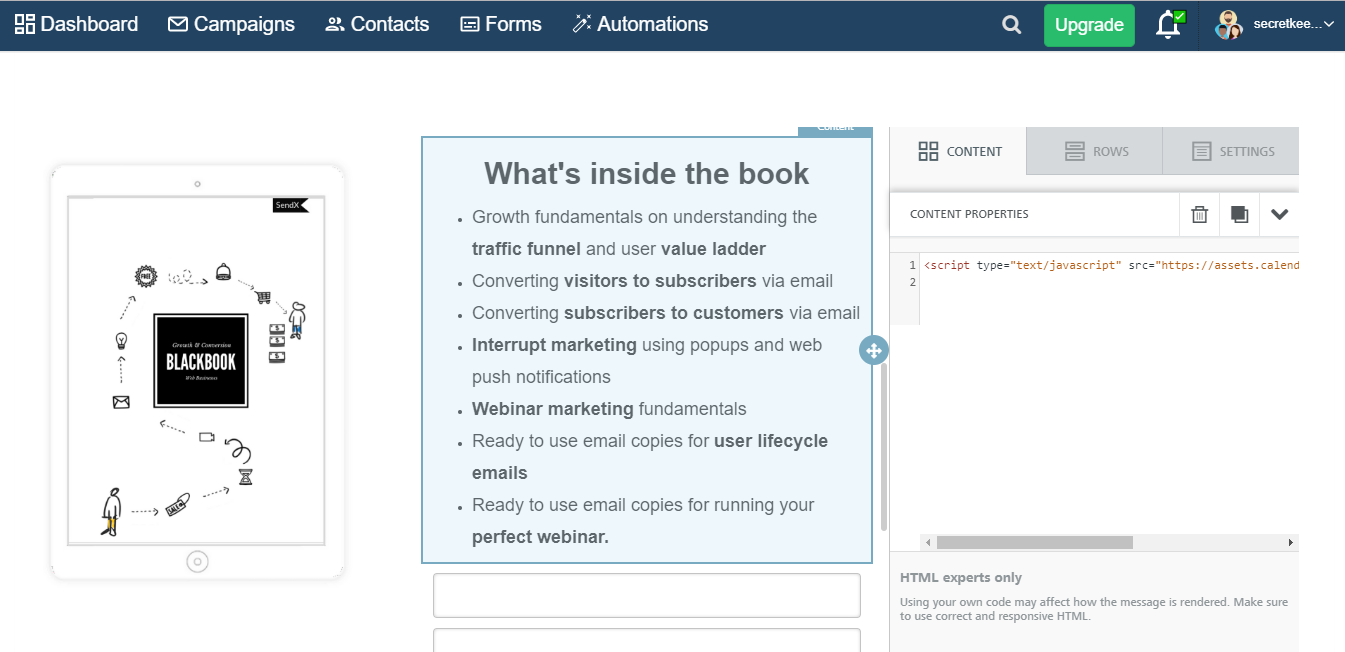
Once done go to Custom JS section, present at the very bottom of the page and add custom script code of Calendly
eg: <script type="text/javascript" src="https://assets.calendly.com/assets/external/widget.js"></script>
And that's it! You now have a calendly widget on your landing page. Click Submit to save this landing page. Note that your calendly widget won't be shown in Info or Edit view of landing page.
-
To see your calendly widget in action go to the actual URL of your landing page.
-
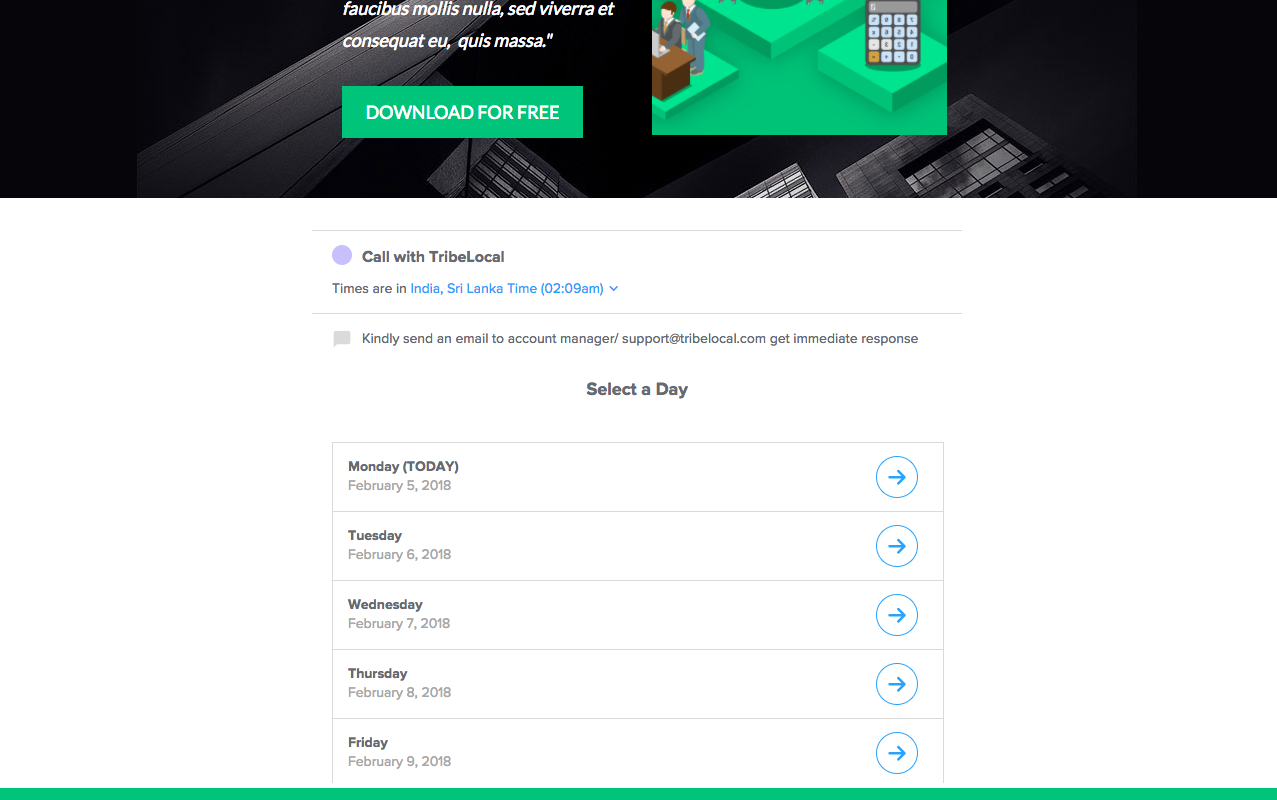
If you have followed the above specified steps, you should find calendly widget embedded successfully to your SendX landing page like shown below.
 Did this answer your question?