
Add Social Icons In Your Landing Page A Quick Guide To Adding Social Icons In Your Landing Page Varun Jain
Using SendX, you can quickly add social icons in your landing pages. Using well-made social media icons optimally increases trust in your brand, and add social proof as well. This quick guide will help you to set up those social icons up.
-
Create a new landing page or go to an already existing one (click Edit), depending on which page you want your social icons to appear.
-
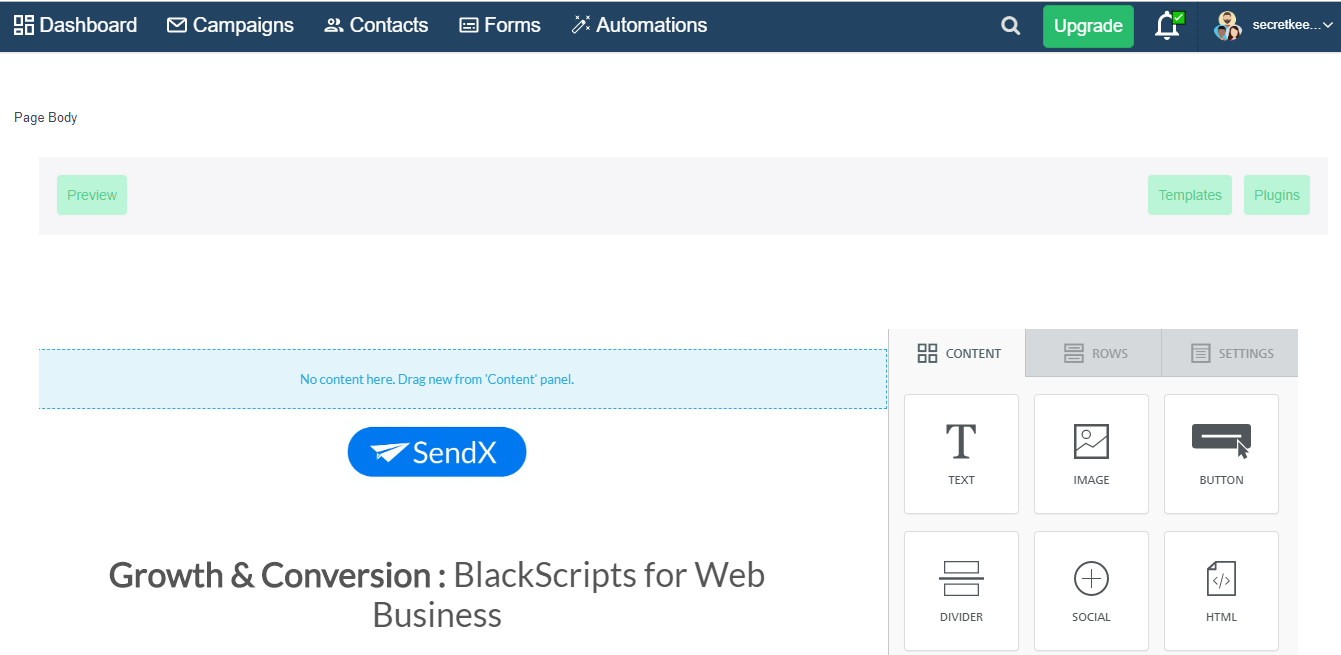
Go to the Design tab.
-
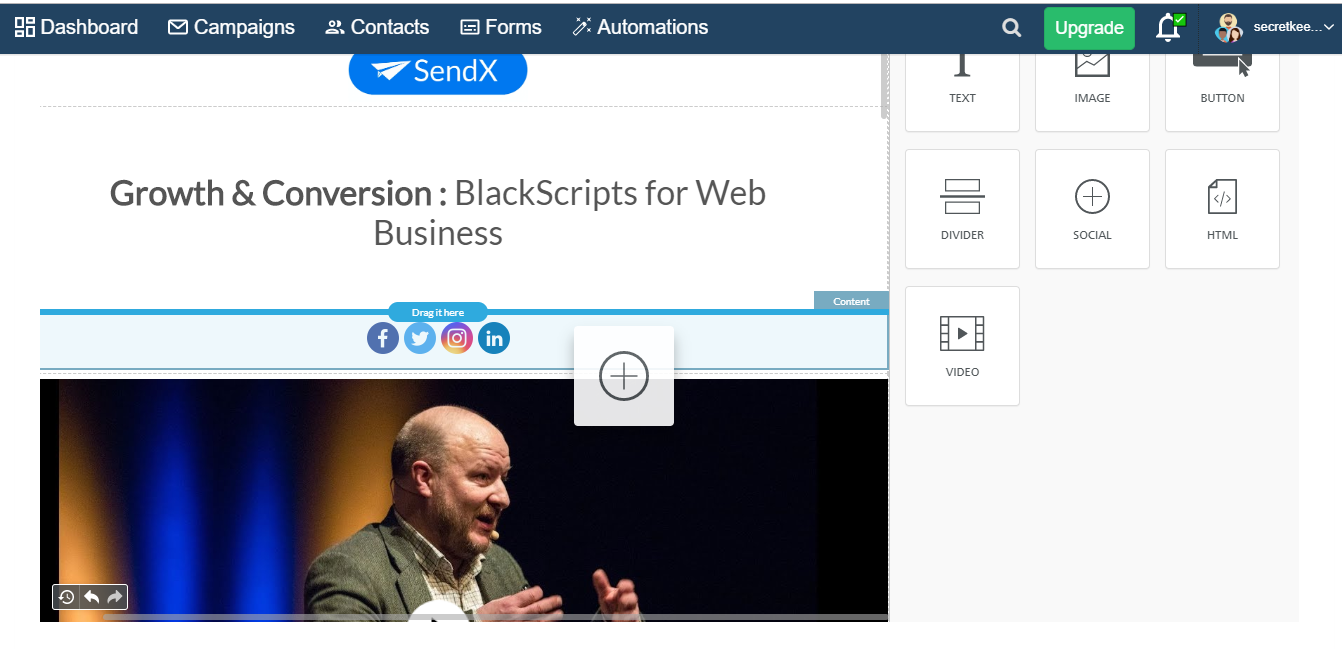
From the drag and drop placeholders on the right, drag the Social box into the landing page (specifically the place where you want your social icons to appear).
-
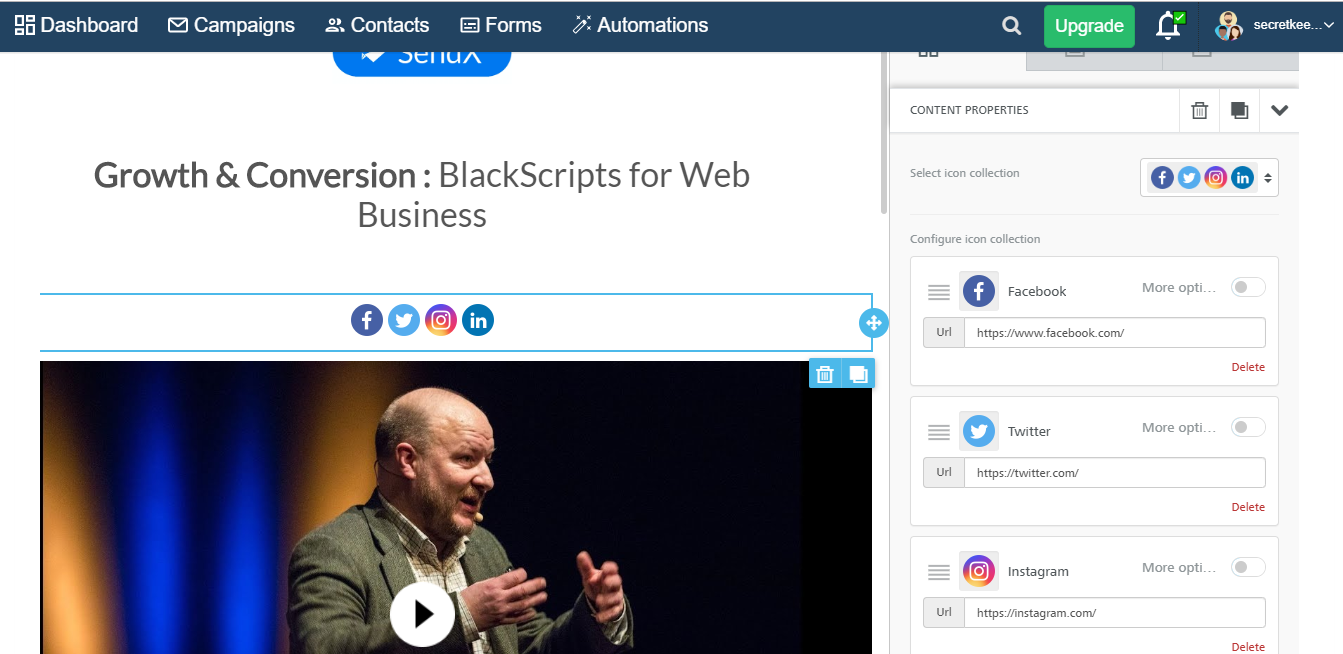
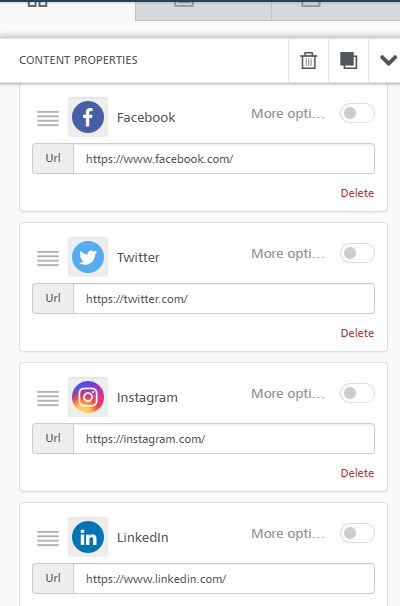
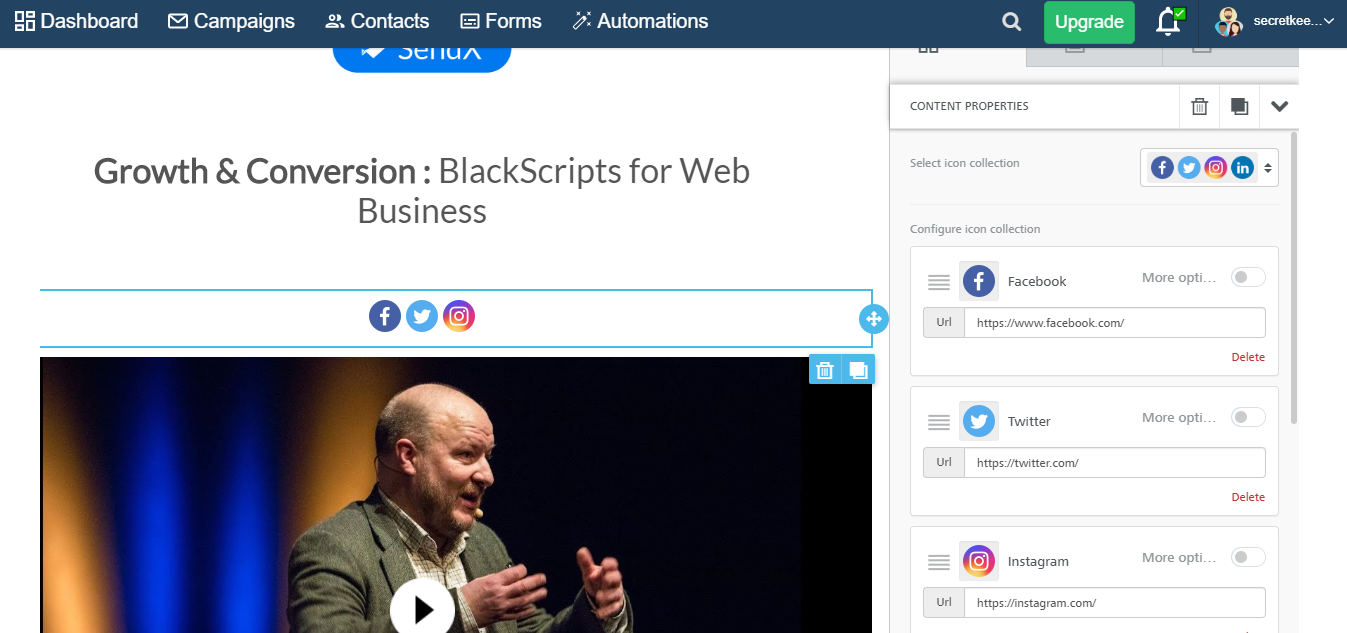
Click on the box to open Content Properties on the right. The Content Properties area allows you to customize how the icons look, their spacing, order, quantity and the ability to choose what social icons you want to display on your landing page.
-
Choose how you want your icons to look from the Select Icon Collection menu.
-
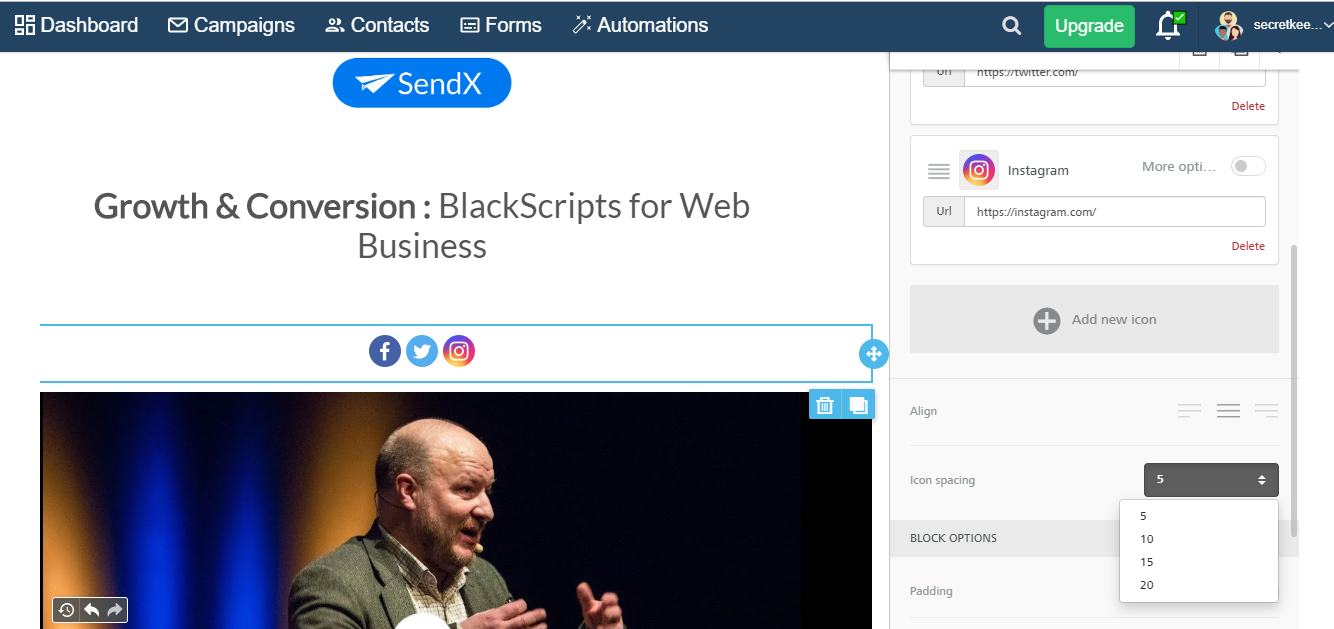
Under the Configure Icon Collection area, you can sort the order in which you want the icons to appear on your landing page. In the URL field, put the URL of your social profiles. Click Add New Icon to add more social icons.
-
The Align field allows you to set the alignment of the icons on the landing page. You can choose to left align, center align or right align based on your preferences. The Icon Spacing field allows you to set the spacing between multiple icons.
-
The Padding field allows you to adjust the spacing between the social icons and the top, bottom, left and right sides of the Social Icon placeholder. Note: Click on the button beside More options to reveal all the fields for all the 4 sides.

-
Click on Submit when done, to save your new Landing Page.
And that's it! You now have a landing page with all the social icons you need to establish yourself as a trustworthy brand.
Did this answer your question?